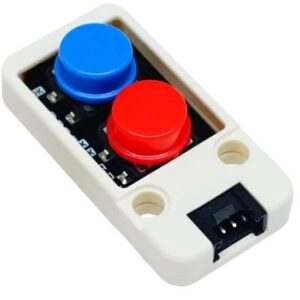
Dual Button Unit
DUAL BUTTON has two buttons with blue and red color. Both buttons have the same two output status: pressed and released.
Information about this sensor unit: Dual Button Unit
Port: A, I2C
Cable: 4 pin Grove cable
 Sensor configuration:
{
    "m5devices": [
        {
            "uid": "M5",
            "sensors": [
                {
                    "id": "dual-button",
                    "type": "dualButton",
                    "events": {
                        "clickA": {
                            "event": "click-a"
                        },
                        "clickB": {
                            "event": "click-b"
                        },
                        "doubleClickA": {
                            "event": "double-click-a"
                        },
                        "doubleClickB": {
                            "event": "double-click-b"
                        }
                    },
                    "settings": {
                        "pinA": 22,
                        "pinB": 21
                    }
                }
            ]
        }
    ]
}
Simple usage in content
If you make this simple content you can make sure the sensor communicates with the content.
- In this tutorial We will use M5 stack fire as device and Dual button as sensor.
- This Unit uses the A(red)port in M5 stack fire so you have to attach the sensor with a Groove Cable into your device.
- Then connect your sensor into the screen where you wish to use it.
- In Wallboard Sensor Designer, you have to make the sensor configuration.
- When you open it you have to login into your editor account you use then make a fast connection to your sensor.
- If you are connected, you have to choose port A, then dual button.
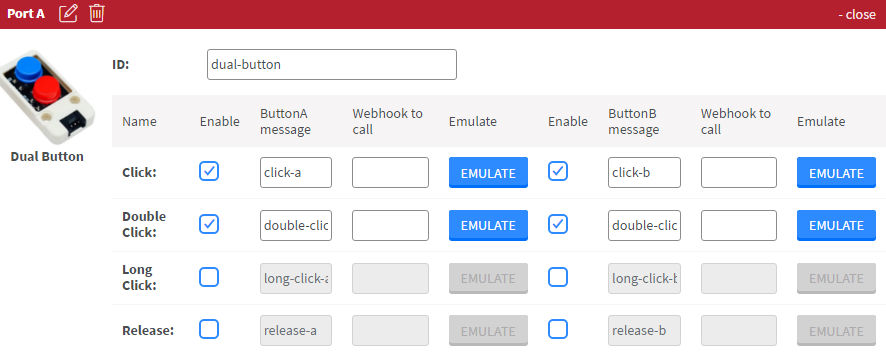
- Enable the events you wish to use in your content, then send it to the screen you chosed in the Content editor you use.

If you wish to see or customize your sensor config:
- Open the Content editor where you sent the configuration, and focus to the screen you selected.
- Right click on the screen: Device Properties >> Set >> Set sensor configuration