How to build a café info screen with a Variables datasource
In this guide you build a small café info screen. The lunch price, the daily special, the brand color and the opening hours all live in one Variables datasource called Café info. Once it is set up, whoever runs the café updates a price or an opening time in the Quick Editor, and every screen that shows it changes, without anyone opening the design.
This is what you will build:
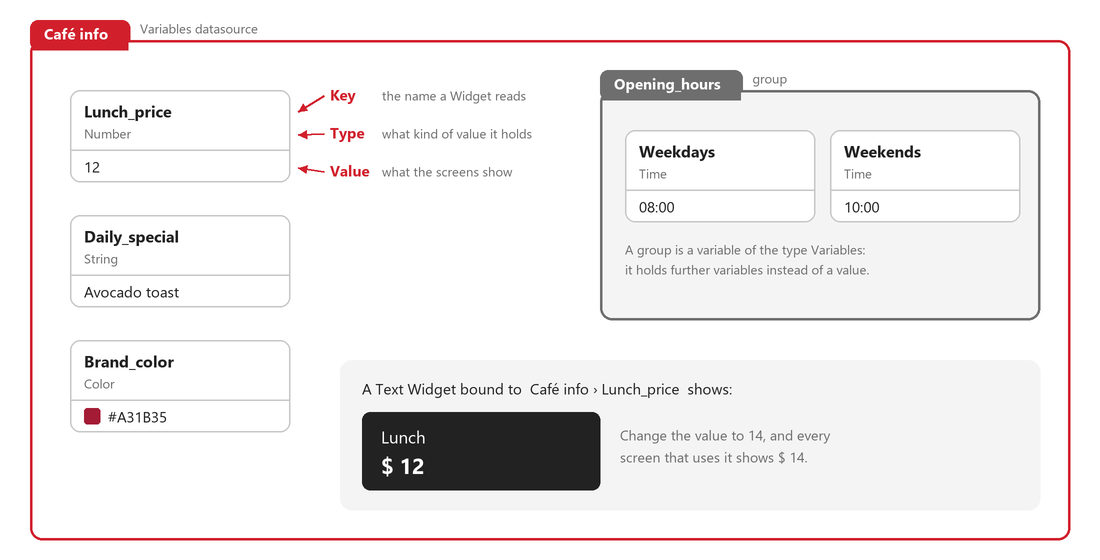
Three parts, three different editors
This guide takes you through three different editors. Each part happens in a different one, and they look nothing alike, so check which one you are in before you follow a step.
| Part | You work in | How to open it | You recognize it by |
|---|---|---|---|
| Part 1: Build the structure | the datasource editor | Settings > Datasources > Internal Datasources tab | Café info and Internal datasource at the top left, and a tree of Variables with Root |
| Part 2: Show the values on a screen | the Content editor | Contents > your Content > Open editor | the Widgets panel on the left, the canvas in the middle and Properties on the right |
| Part 3: Fill in the values | the Quick Editor | Contents > your Content > Quick editor tab | the Editable fields list on the left and the preview on the right |
Who does which part: Parts 1 and 2 are done once, usually by whoever designs the screens. Part 3 is the everyday job: whoever keeps the screens up to date only ever comes back to Part 3.
New to Variables datasources? Learn more: Internal Variables Datasources
Part 1: Build the structure
Part 1 happens in the datasource editor, which you open from Settings > Datasources. Here you decide which variables exist, their names and their types. You do not type any values here.
Step 1: Create the datasource
- Navigate to Settings > Datasources and open the Internal Datasources tab.
- Click the round + button next to the Internal Datasources title, labeled Add internal datasource on hover.
- In the Add internal datasource window, enter
Café infoas the Name and select Variables as the Structure type. - Click Save and open.
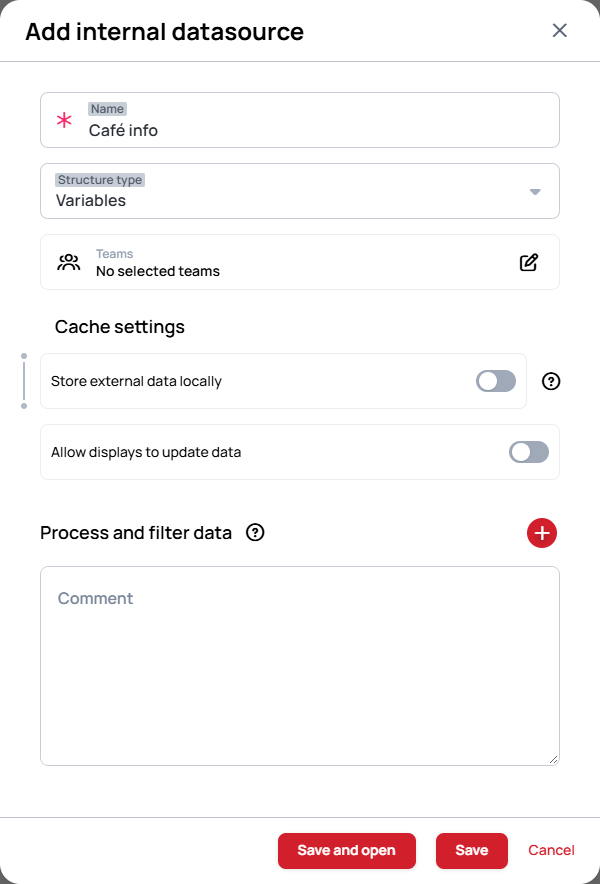
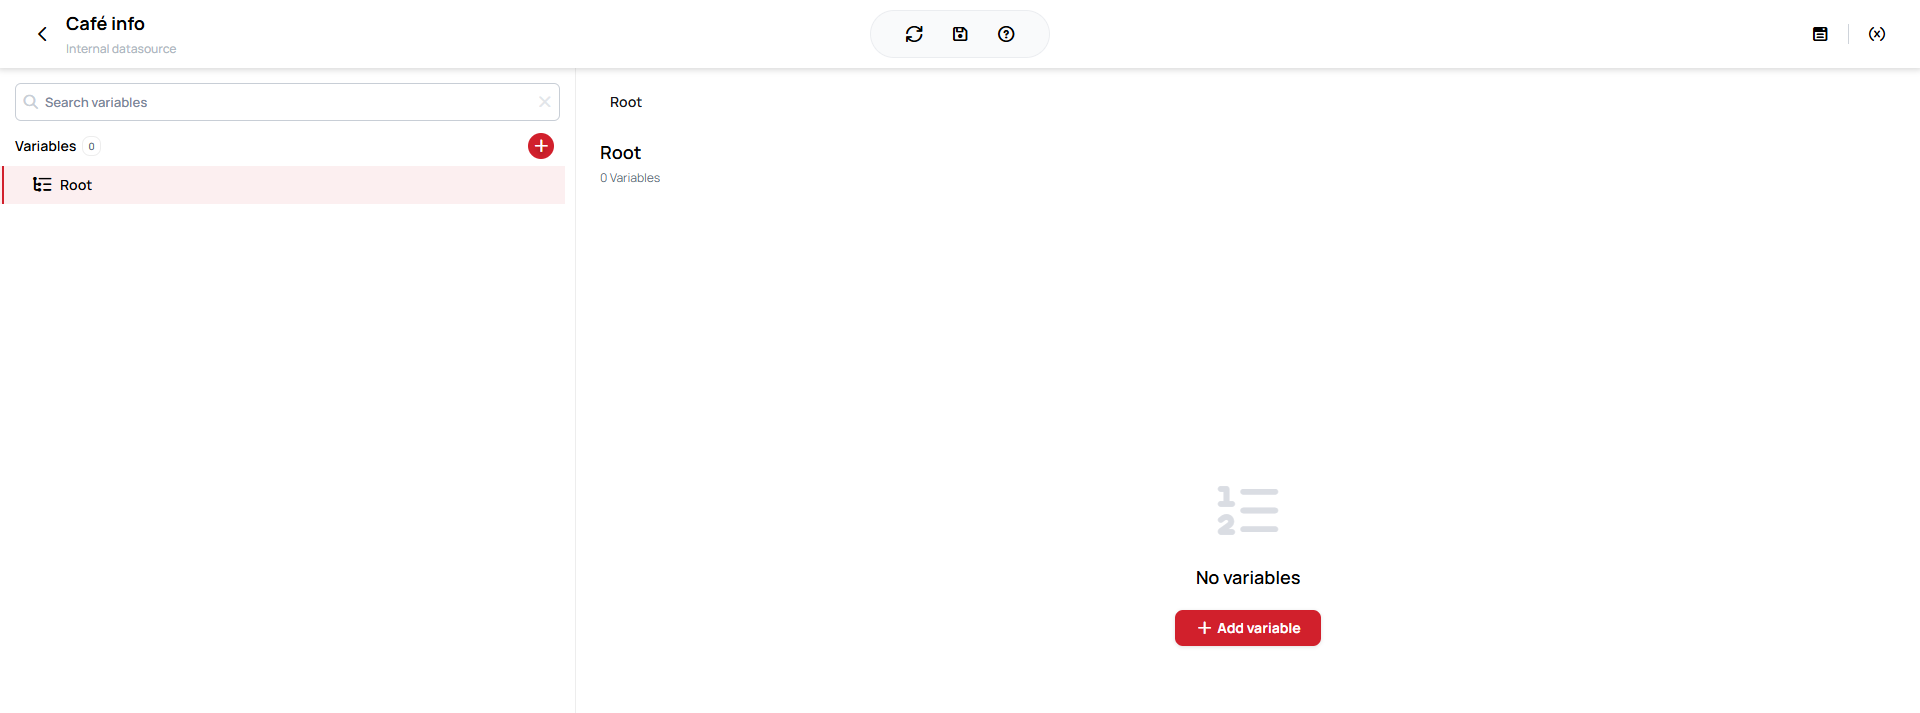
The structure editor opens. It is empty for now: the tree on the left shows only Root, and the right side shows No variables with an Add variable button.
Step 2: Add the first variable
- Click Add variable.
- Type
Lunch priceas the Key, and select Number as the Type.
The variable appears in the tree on the left, and Root now counts 1 Variables:

The editor turns a space inside a key into an underscore, so Lunch price is saved as Lunch_price. That is expected. Use the key exactly as it is shown here when you bind a Widget to it later. Spaces at the start or end of a key are removed.
Step 3: Add the other variables
The Add variable button now sits at the top right of the list.
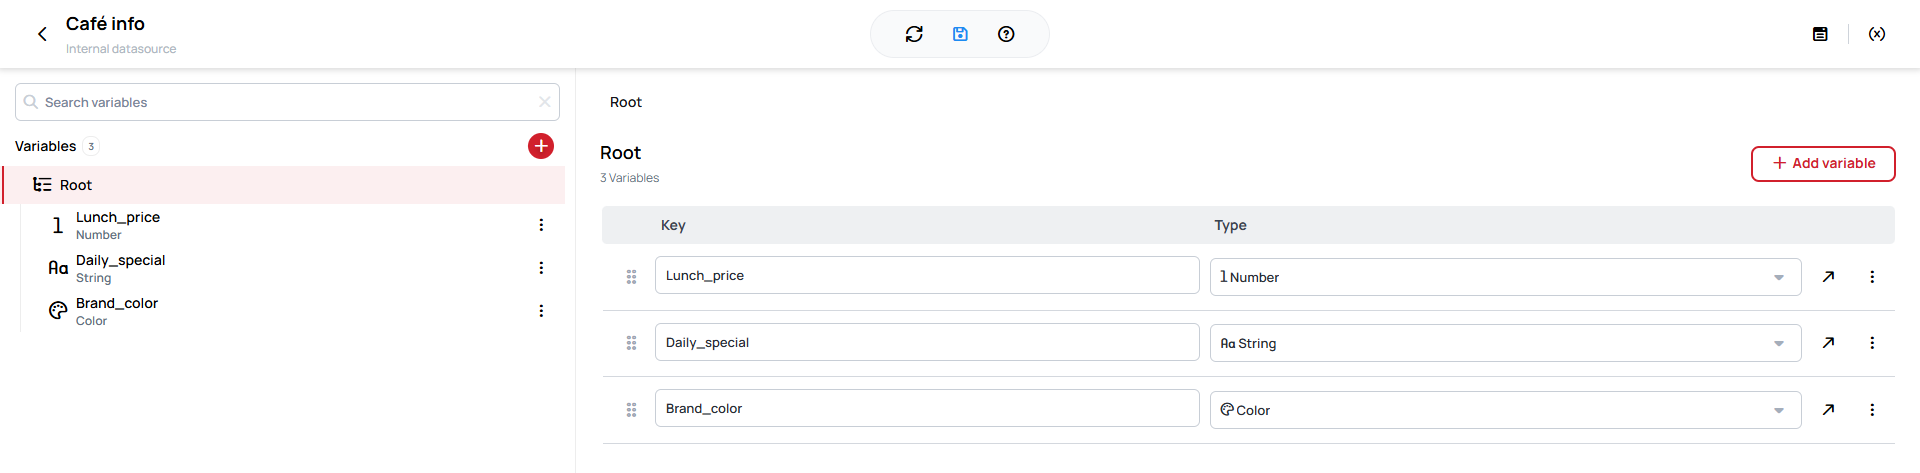
- Click Add variable. Type
Daily specialas the Key, and select String as the Type. - Click Add variable again. Type
Brand coloras the Key, and select Color as the Type.
Each type has its own icon in the tree, so you can tell them apart at a glance:
Step 4: Add the Opening hours group
A group is a variable of the type Variables: instead of a value, it holds further variables.
- Click Add variable. Type
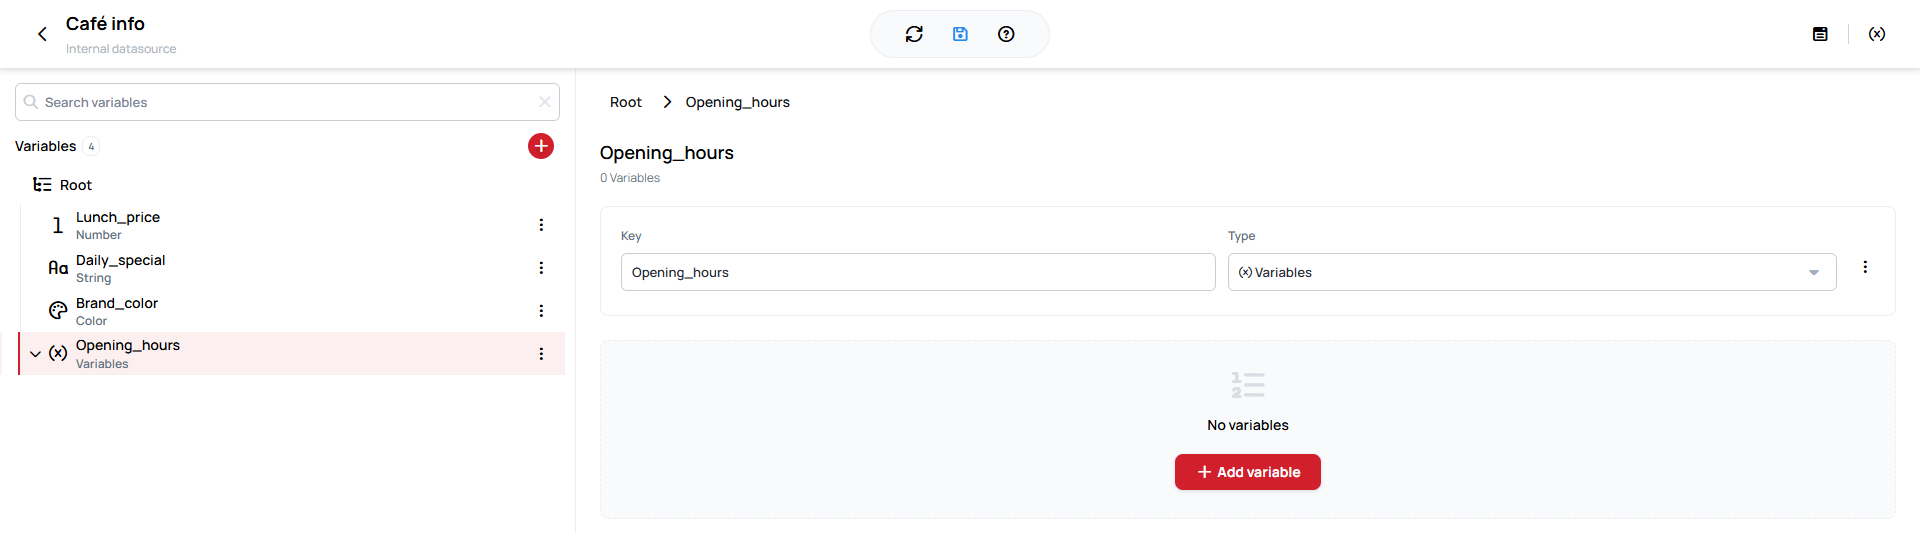
Opening hoursas the Key, and select Variables as the Type. - Click the Open icon on that row. The right side now shows the group, with Root > Opening_hours at the top, and an empty list of its own:
- Click Add variable inside the group, twice:
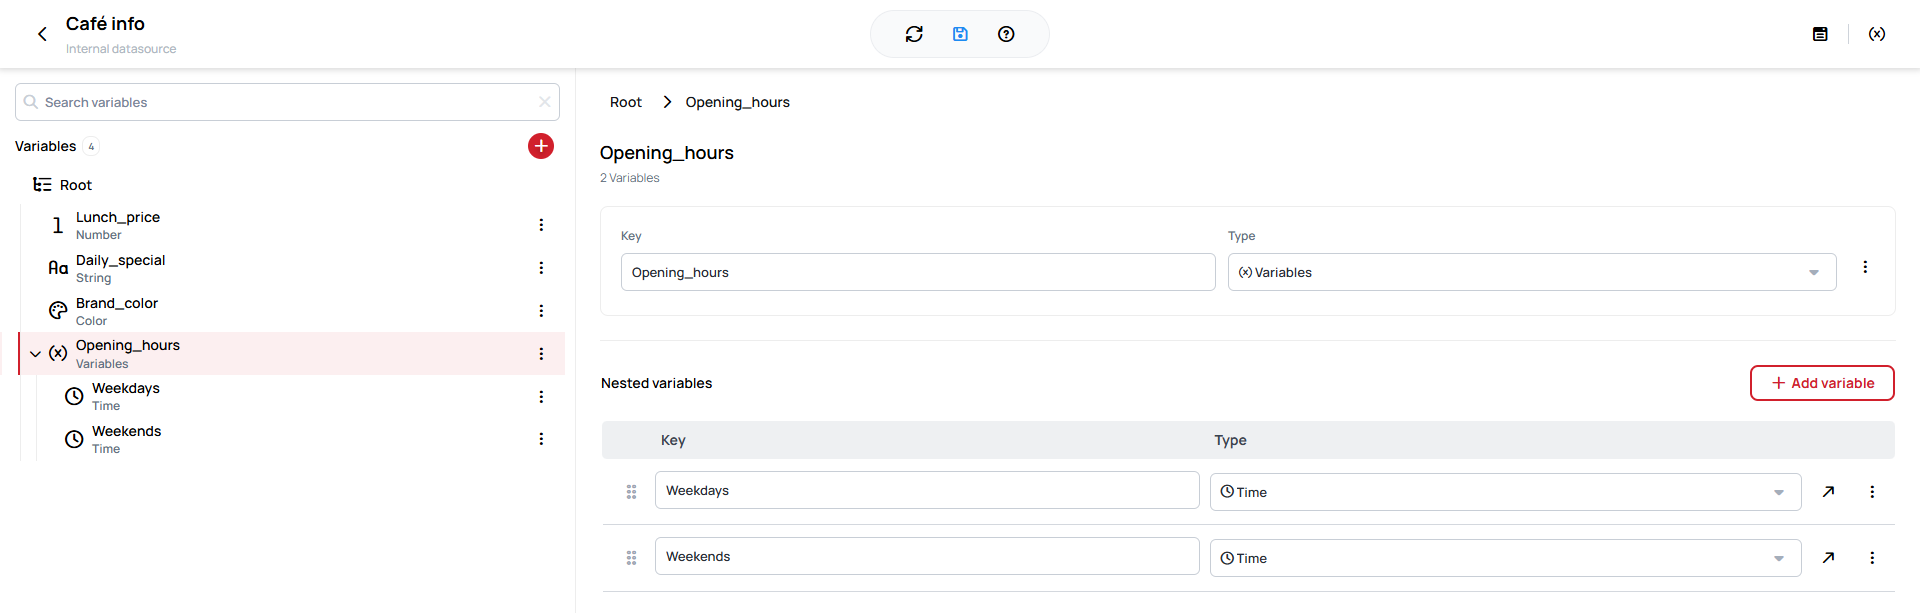
Weekdays, of the type TimeWeekends, of the type Time
They are listed under Nested variables, and in the tree they hang below Opening_hours:
To get back to the top level, click Root in the breadcrumb or in the tree.
Step 5: Save
Click the Save icon in the toolbar at the top. The structure of Café info is ready: four variables at the top level, one of them a group with two more inside.
Part 2: Show the values on a screen
Part 2 happens in the Content editor: open Contents, select your Content and click Open editor. Here you place Widgets on the canvas and connect each one to a variable. You still do not type any values.
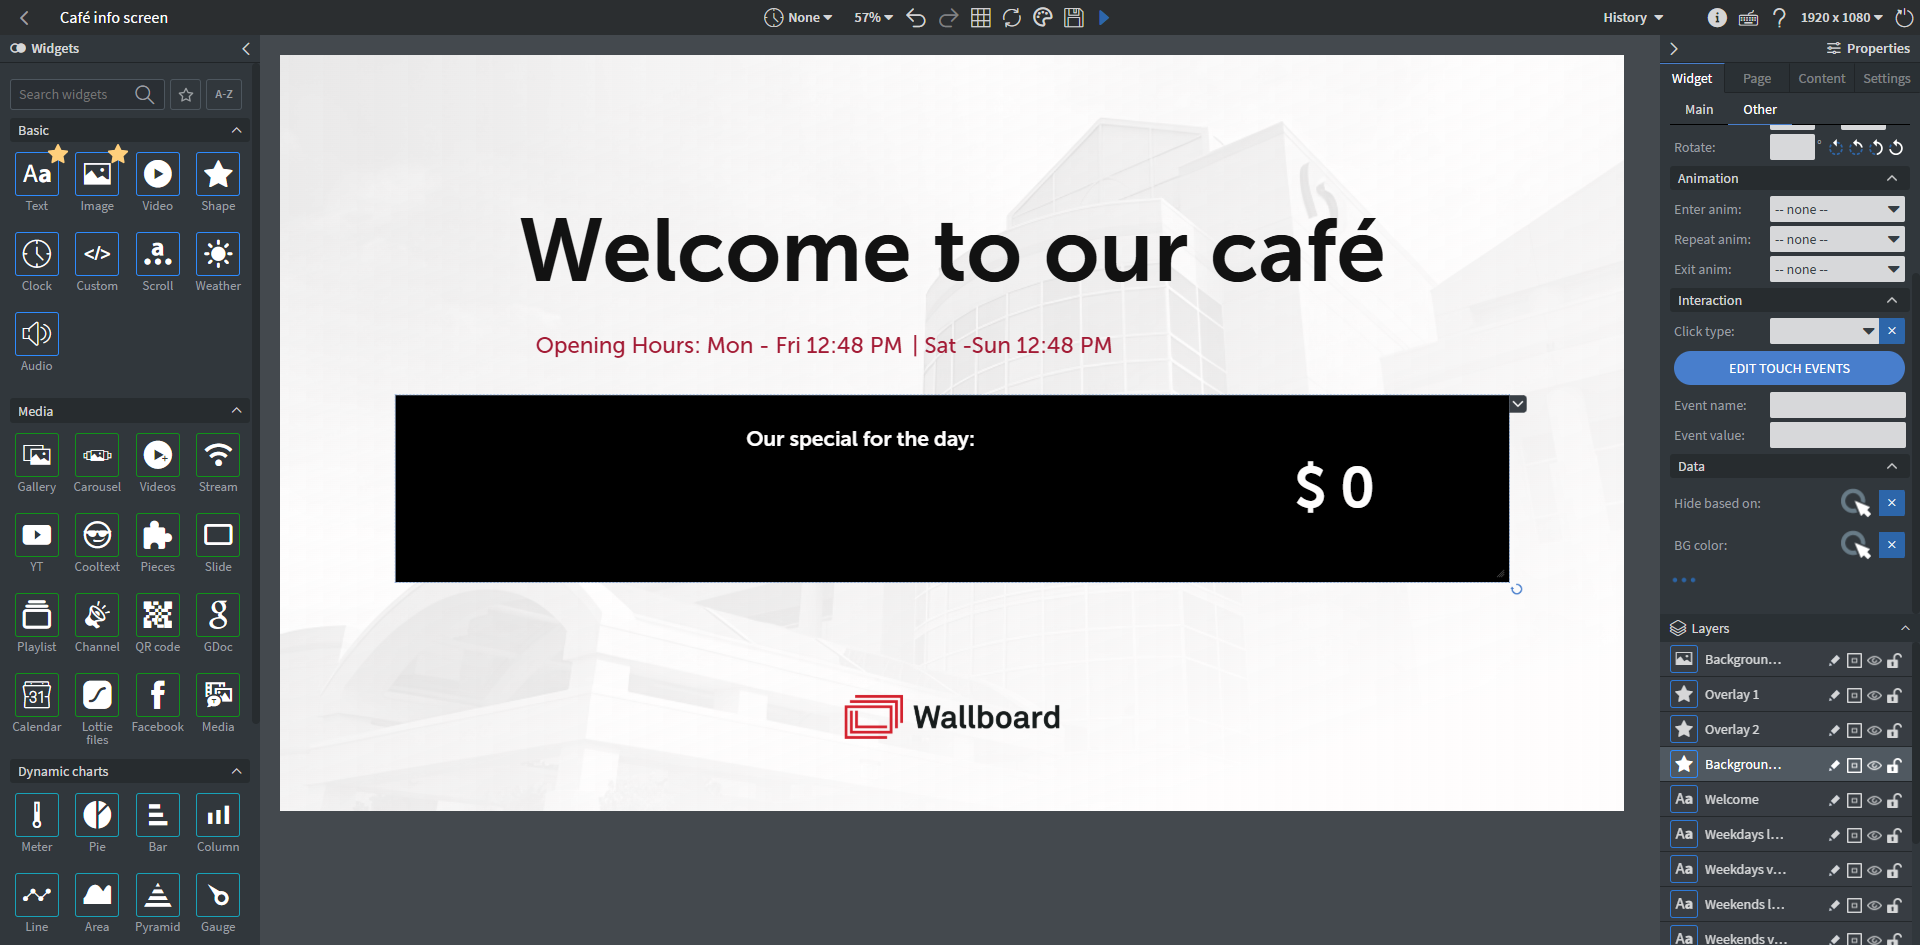
The variables you built in Part 1 have no values yet. While you bind your Widgets, the data picker previews a placeholder: nothing for a String, 0 for a Number, a time of day for a Time, and black (#000000) for a Color. The canvas shows the same. That is expected: the real values, such as 12.50 or Tomato soup, are filled in from the Quick Editor in Part 3, and the screen updates then.
Step 6: Prepare the Content
You can design the screen yourself, or start from the finished café screen used in this guide:
Café info screen template
cafe-info.zip
The download contains the Content only, not the Café info datasource. Its Widgets are still bound to the datasource it was made with, which does not exist on your account, so they show nothing until you connect them to your own Café info. Build Café info in Part 1 first, import the template, and then do Steps 7 to 10 on it: you only repeat the picker clicks, the design is ready.
The screen needs one Text Widget for each value it shows, and a Shape for the colored bar:
| Widget | Shows | Bound to |
|---|---|---|
| Text: Special name | the special of the day | Daily_special |
| Text: Lunch price | the price | Lunch_price |
| Text: Weekdays value | the weekday opening time | Opening_hours > Weekdays |
| Text: Weekends value | the weekend opening time | Opening_hours > Weekends |
| Shape: Box | the colored bar behind the special | Brand_color |
The other texts, such as the title and the labels in front of the times, stay plain text.
Step 7: Bind the daily special
- Select the Special name Text Widget.
- In Properties > Widget > Other, open the Data section and click Bind to data.
- In the data picker, select the Café info datasource, then Daily_special, then value.
- Click Save.
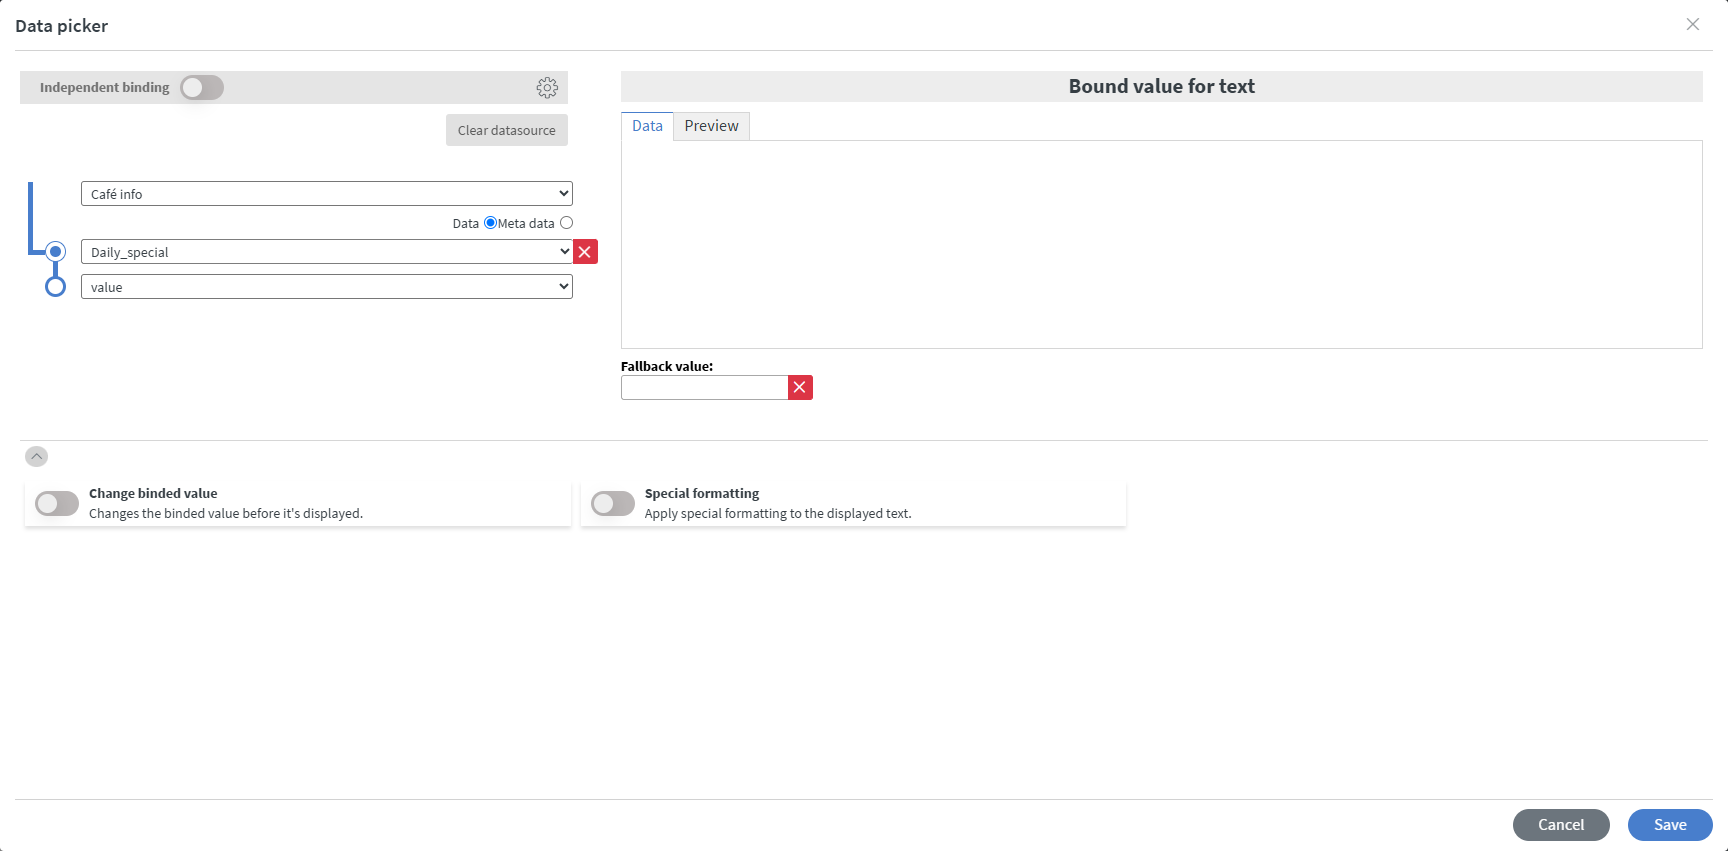
Behind each key, a Variables datasource stores two things: the variable's type and its value. So when you select Daily_special, the picker offers one more level, with type and value in it:
- type only says what kind of variable it is. Bound to a Widget, it would show the name of the type instead of your value.
- value is what you type in Part 3, such as Avocado toast. This is what the screen should show.
Always select value under the key. A group works the same way, one level deeper: its value holds the variables inside it, so you pick the group, value, then the variable and its value, as in Step 9.
Learn more: Binding a Widget to a variable
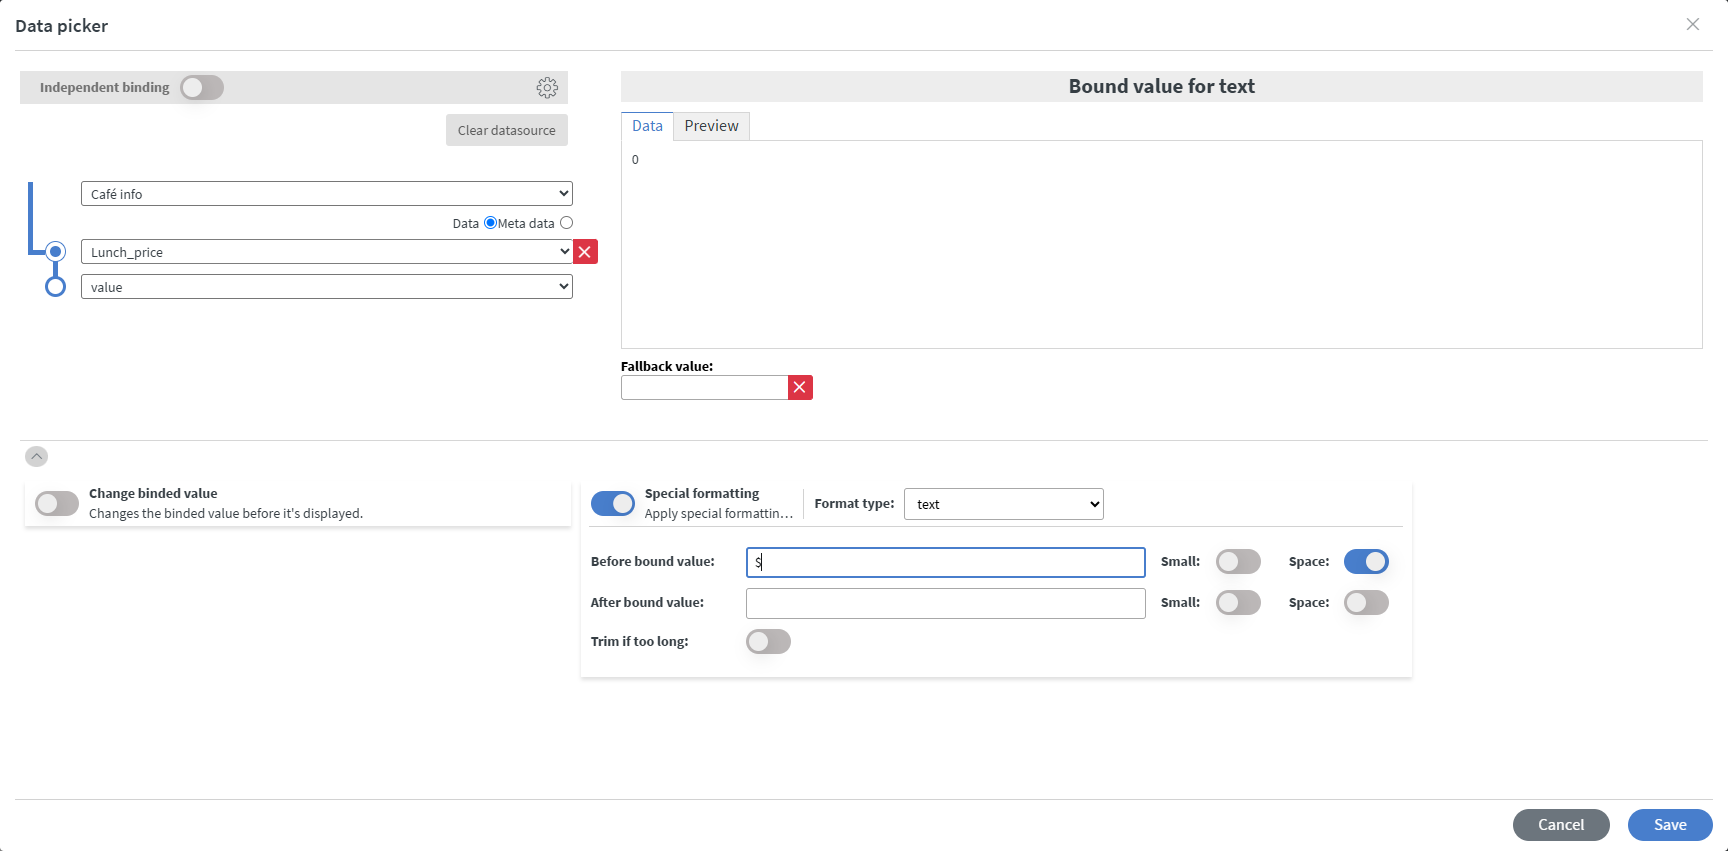
Step 8: Bind the price, with a dollar sign
- Select the Lunch price Text Widget, and open Bind to data the same way.
- Select Café info, then Lunch_price, then value.
- Turn on Special formatting, keep the Format type on text, and type
$in Before bound value. - Click Save.
The $ is added in front of whatever price comes from the datasource, so it stays when the price changes.
Step 9: Bind the opening times
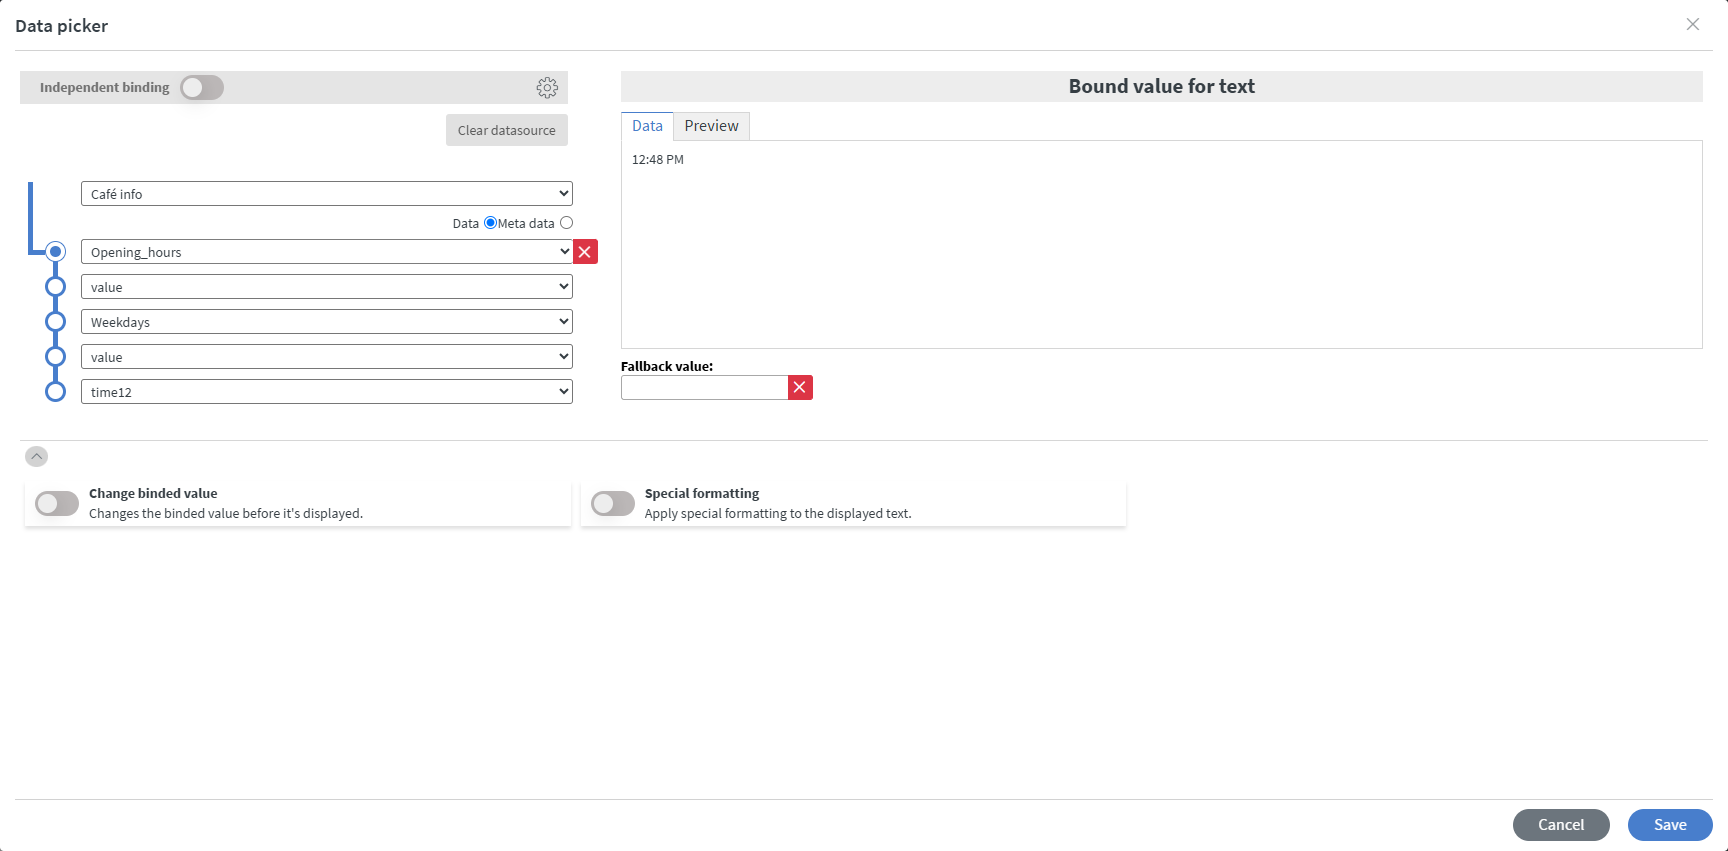
The two times sit inside the Opening_hours group, so the path is longer: the group, its contents, the time, its value, and the format of the time.
- Select the Weekdays value Text Widget, and open Bind to data.
- Select Café info, then Opening_hours, value, Weekdays, value, and finally time12 to show the time on the 12-hour clock, such as 08:00 AM.
- Click Save.
- Repeat it for the Weekends value Text Widget, selecting Weekends in place of Weekdays.
Step 10: Color the bar from the datasource
The bar is a Shape, and a Shape's Fill color cannot be bound to data. Its background color can. The catch is that a Shape is painted in two layers: the background at the back, and the fill on top. A solid fill covers the background completely, so a bound background color would never be seen.
So you do two things: make the fill see-through, and bind the background.
-
Select the Box Shape.
-
In Properties > Widget > Main, in the Shape section, set the Fill color to transparent and turn Gradient off. The bar now shows whatever is behind it.

-
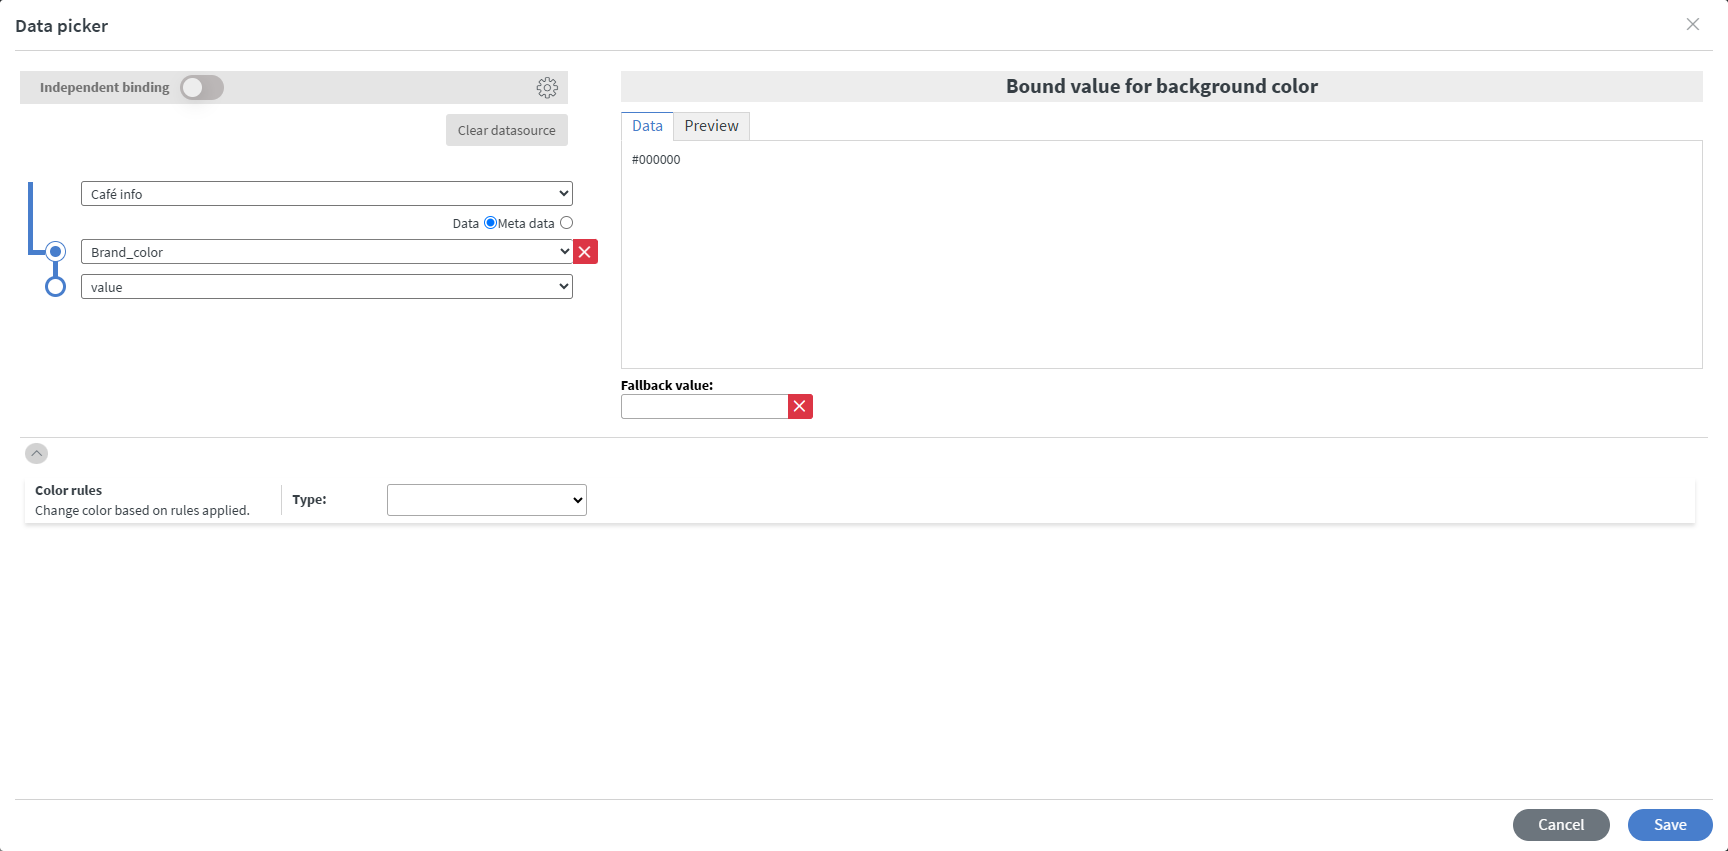
Open Other, click Bind anything, and click Add binding next to Background color.
-
Select Café info, then Brand_color, then value, and click Save.
-
Click Save in the Bind widget properties window, then save the Content.
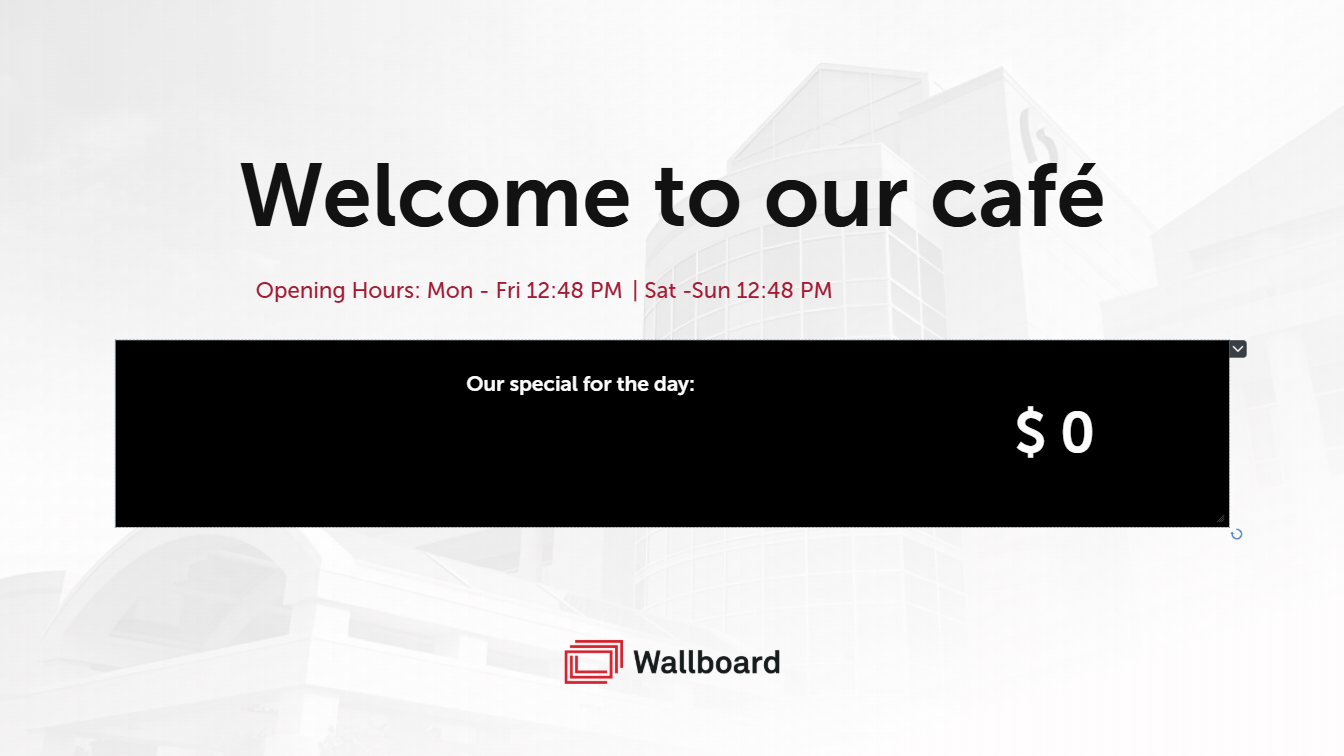
Everything is connected now, but every variable still shows its placeholder: the times read the current time, the special is empty, the price reads $ 0, and the bar is black. That is the expected look at the end of Part 2:
Part 3: Fill in the values
Part 3 happens in the Quick Editor: open Contents, select your Content and open its Quick editor tab. This is the only place where you type the values, and it is the only part you come back to when something changes.
Step 11: Open the Quick Editor
- Save the Content and leave the Content editor with the back arrow at the top left.
- Open the Quick editor tab of the Content.
The preview on the right still shows the placeholders from Part 2:
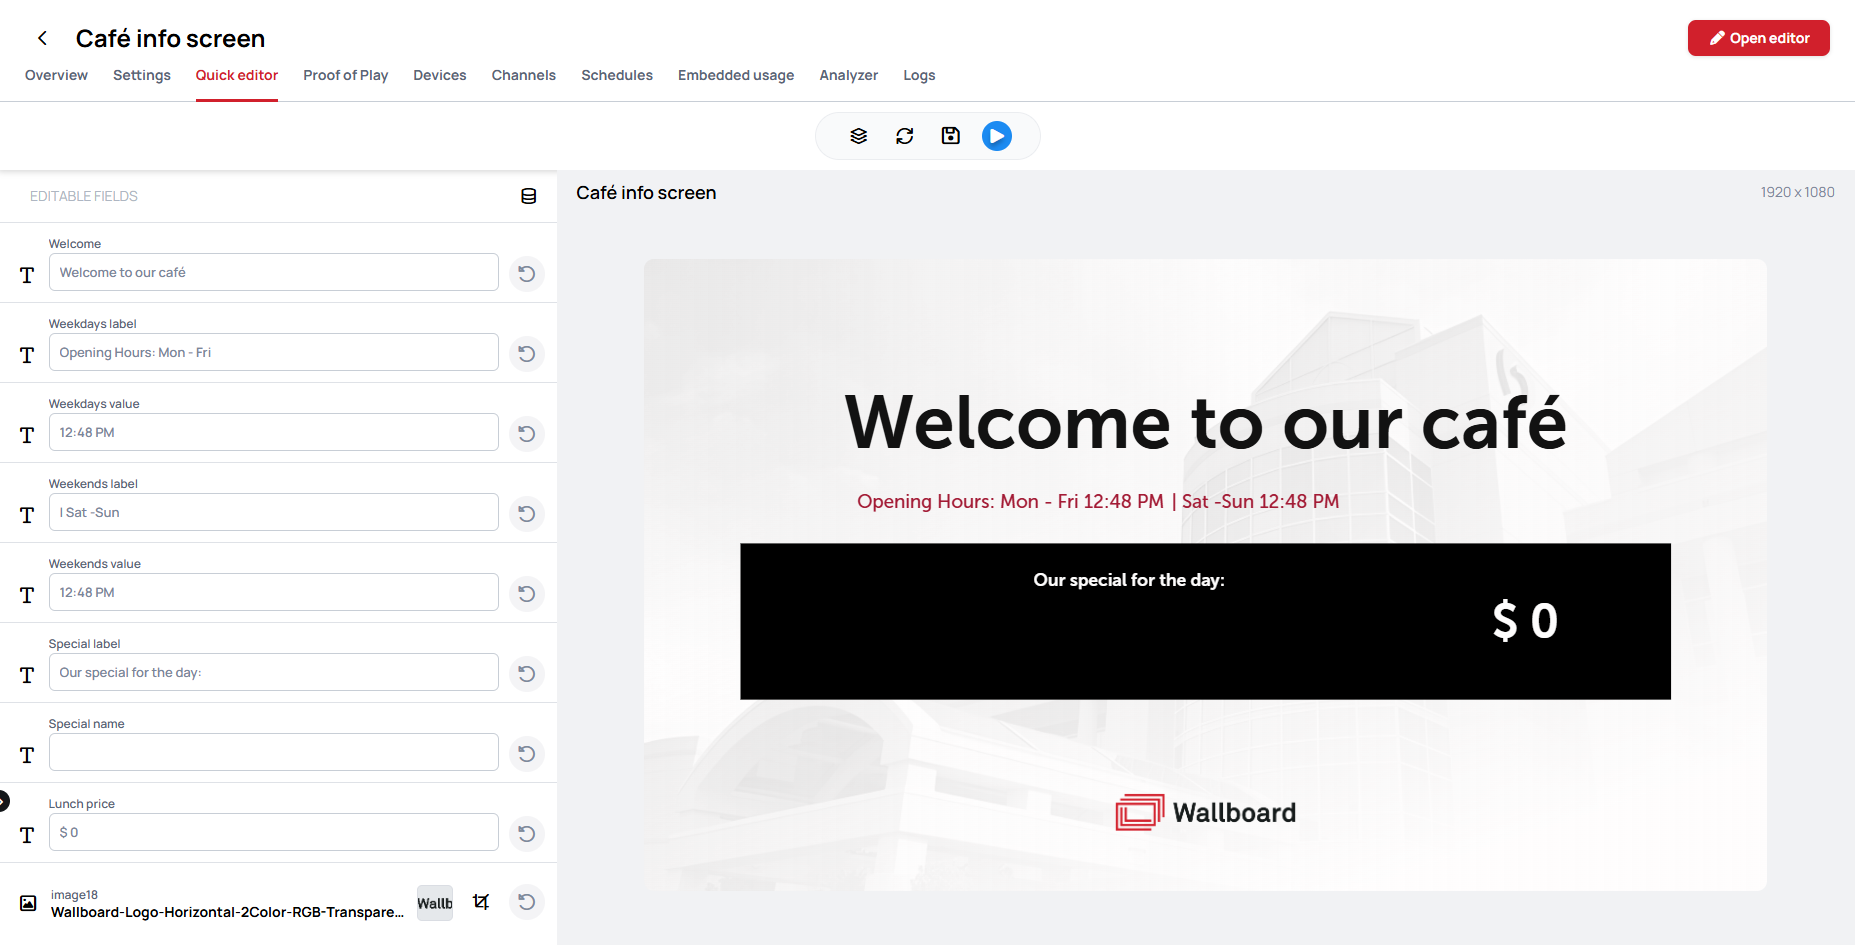
If the bound Widgets were made quick editable in the Content editor, they also appear in the Editable fields list, such as Weekdays value or Lunch price. Typing into those fields does not change the screen: a Widget that is bound to a datasource always shows the value from the datasource. Change the values through Data bindings, as in the next step. To keep the list clear, turn off quick editing on the bound Widgets.
Step 12: Open Café info
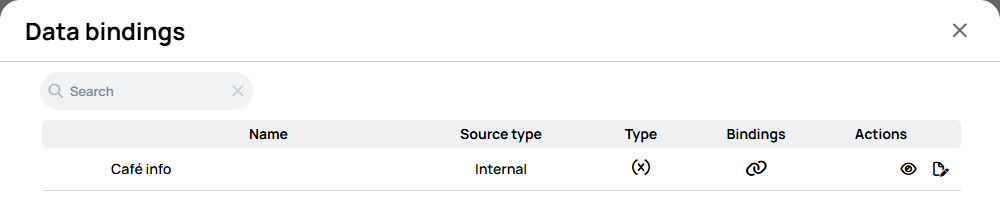
- Click the icon in the Editable fields header, labeled Data bindings on hover. The list shows Café info as an Internal datasource.
- Click the Open editor icon on the Café info row.
- The first time you do this, an Edit datasource window reminds you that the change applies everywhere Café info is used. Turn on I understand and click Confirm.
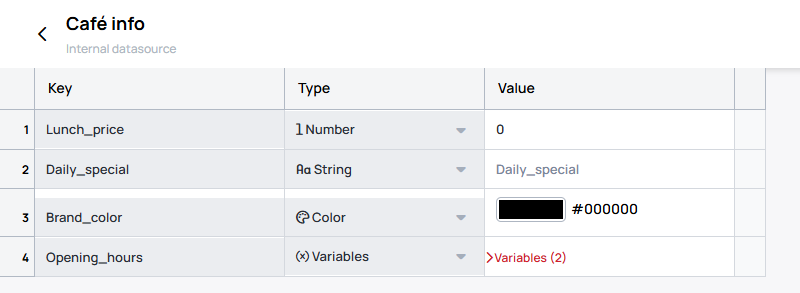
Café info opens as a table of keys, types and values. This is the same datasource as in Part 1, but here the keys and types are locked: only the Value column can be changed.
Learn more: Quick Editor Data Bindings
Step 13: Type the values and save
- Fill in the Value column:
- Lunch_price:
12 - Daily_special:
Avocado toast - Brand_color:
#A31B35
- Lunch_price:
- Click Variables (2) on the Opening_hours row to open the group, and fill in its two times:
- Weekdays:
08:00 - Weekends:
10:00
- Weekdays:
- Click the Save icon at the top.
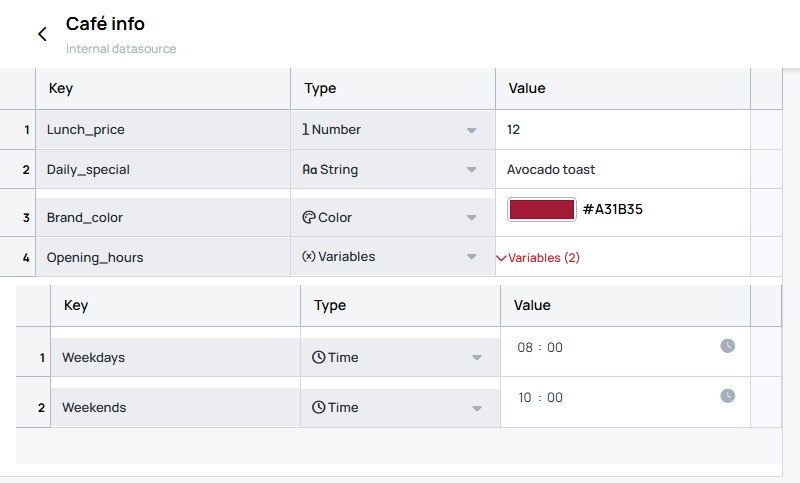
The save writes the values into Café info straight away, for every Content that uses it. Leaving the Quick Editor without saving the Content does not undo it.
Step 14: See the result
Go back to the Quick Editor. The preview now shows the real values: the opening times, the special, the price with its dollar sign, and the bar in the brand color.
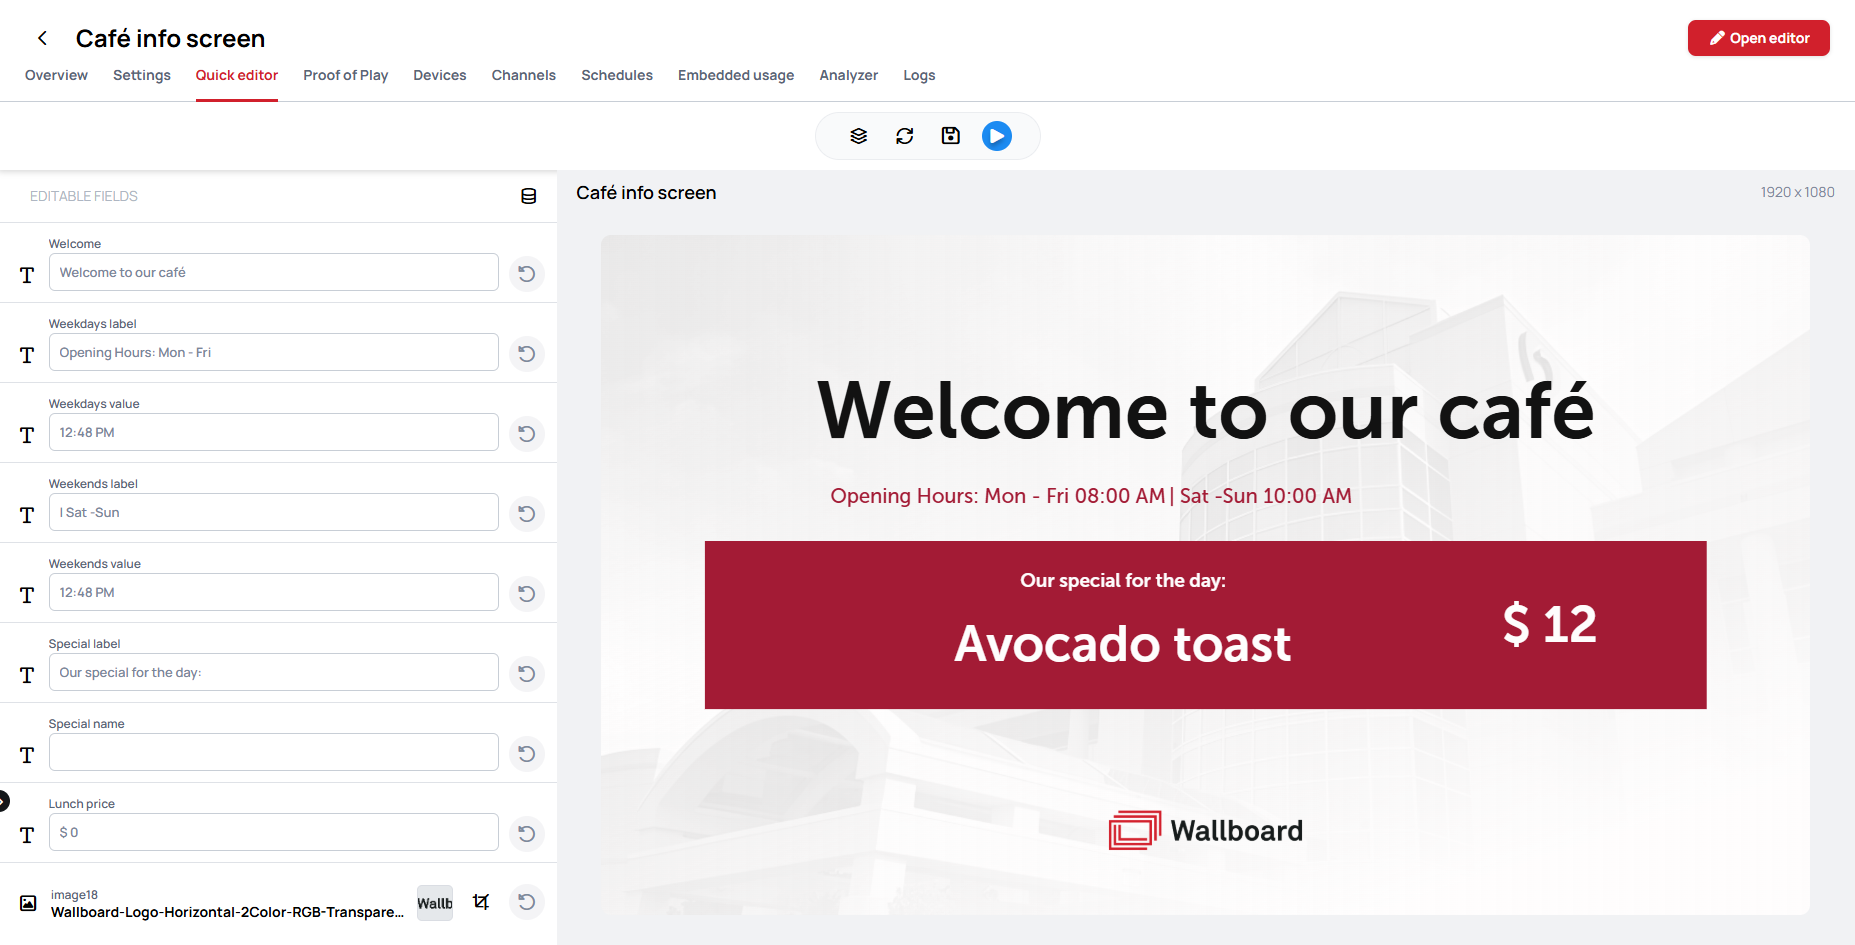
From now on, this is all it takes to update the screen: open the Quick Editor, open Café info from Data bindings, change a value and save. To change the special tomorrow, type a new dish into Daily_special. To change the bar's color, type another color into Brand_color.