Standard installation on Samsung Kiosk
Before installing the application, it is advised to do the following steps
-
On the bottom of the screen select
All Settings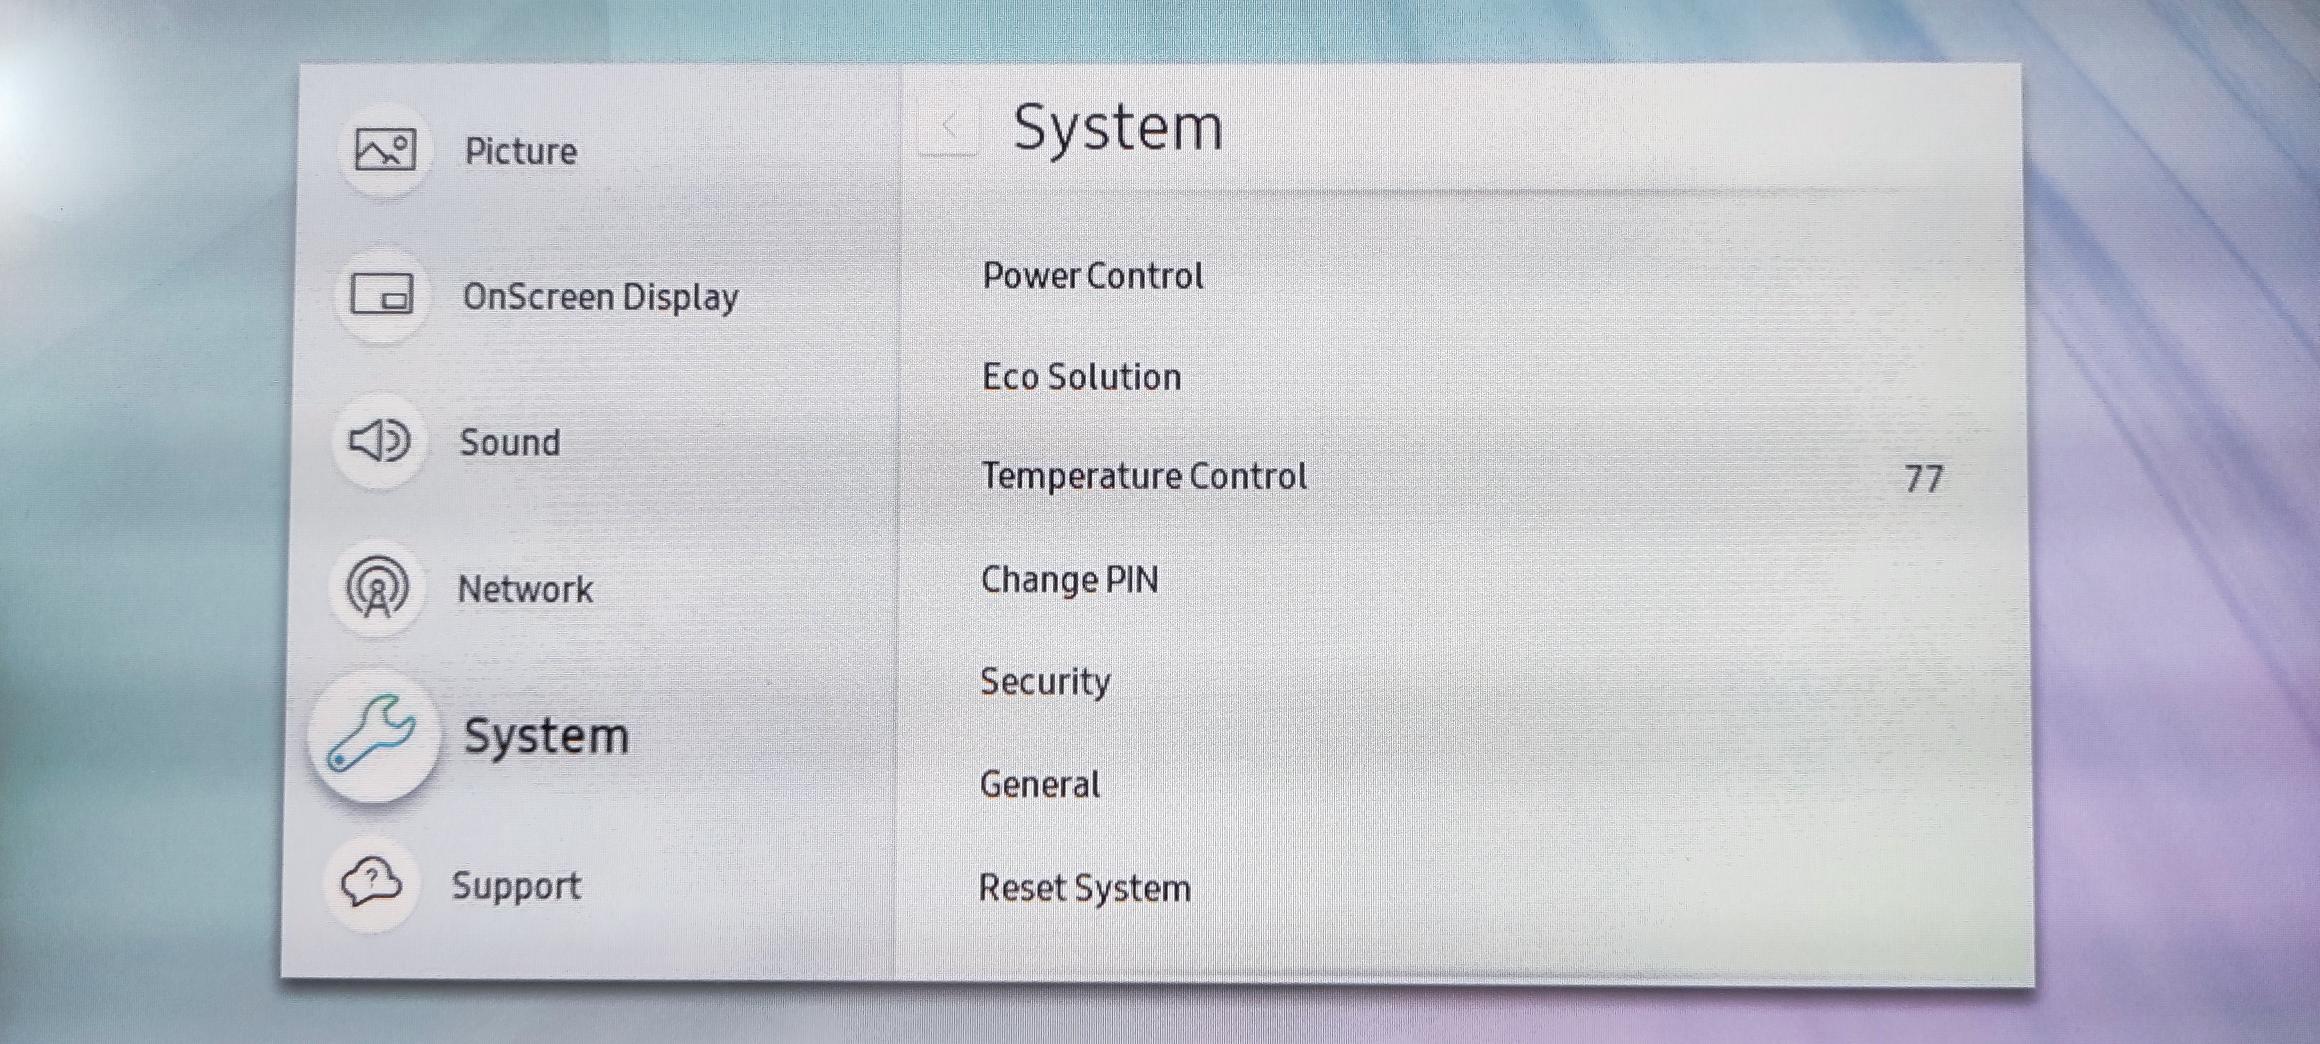
-
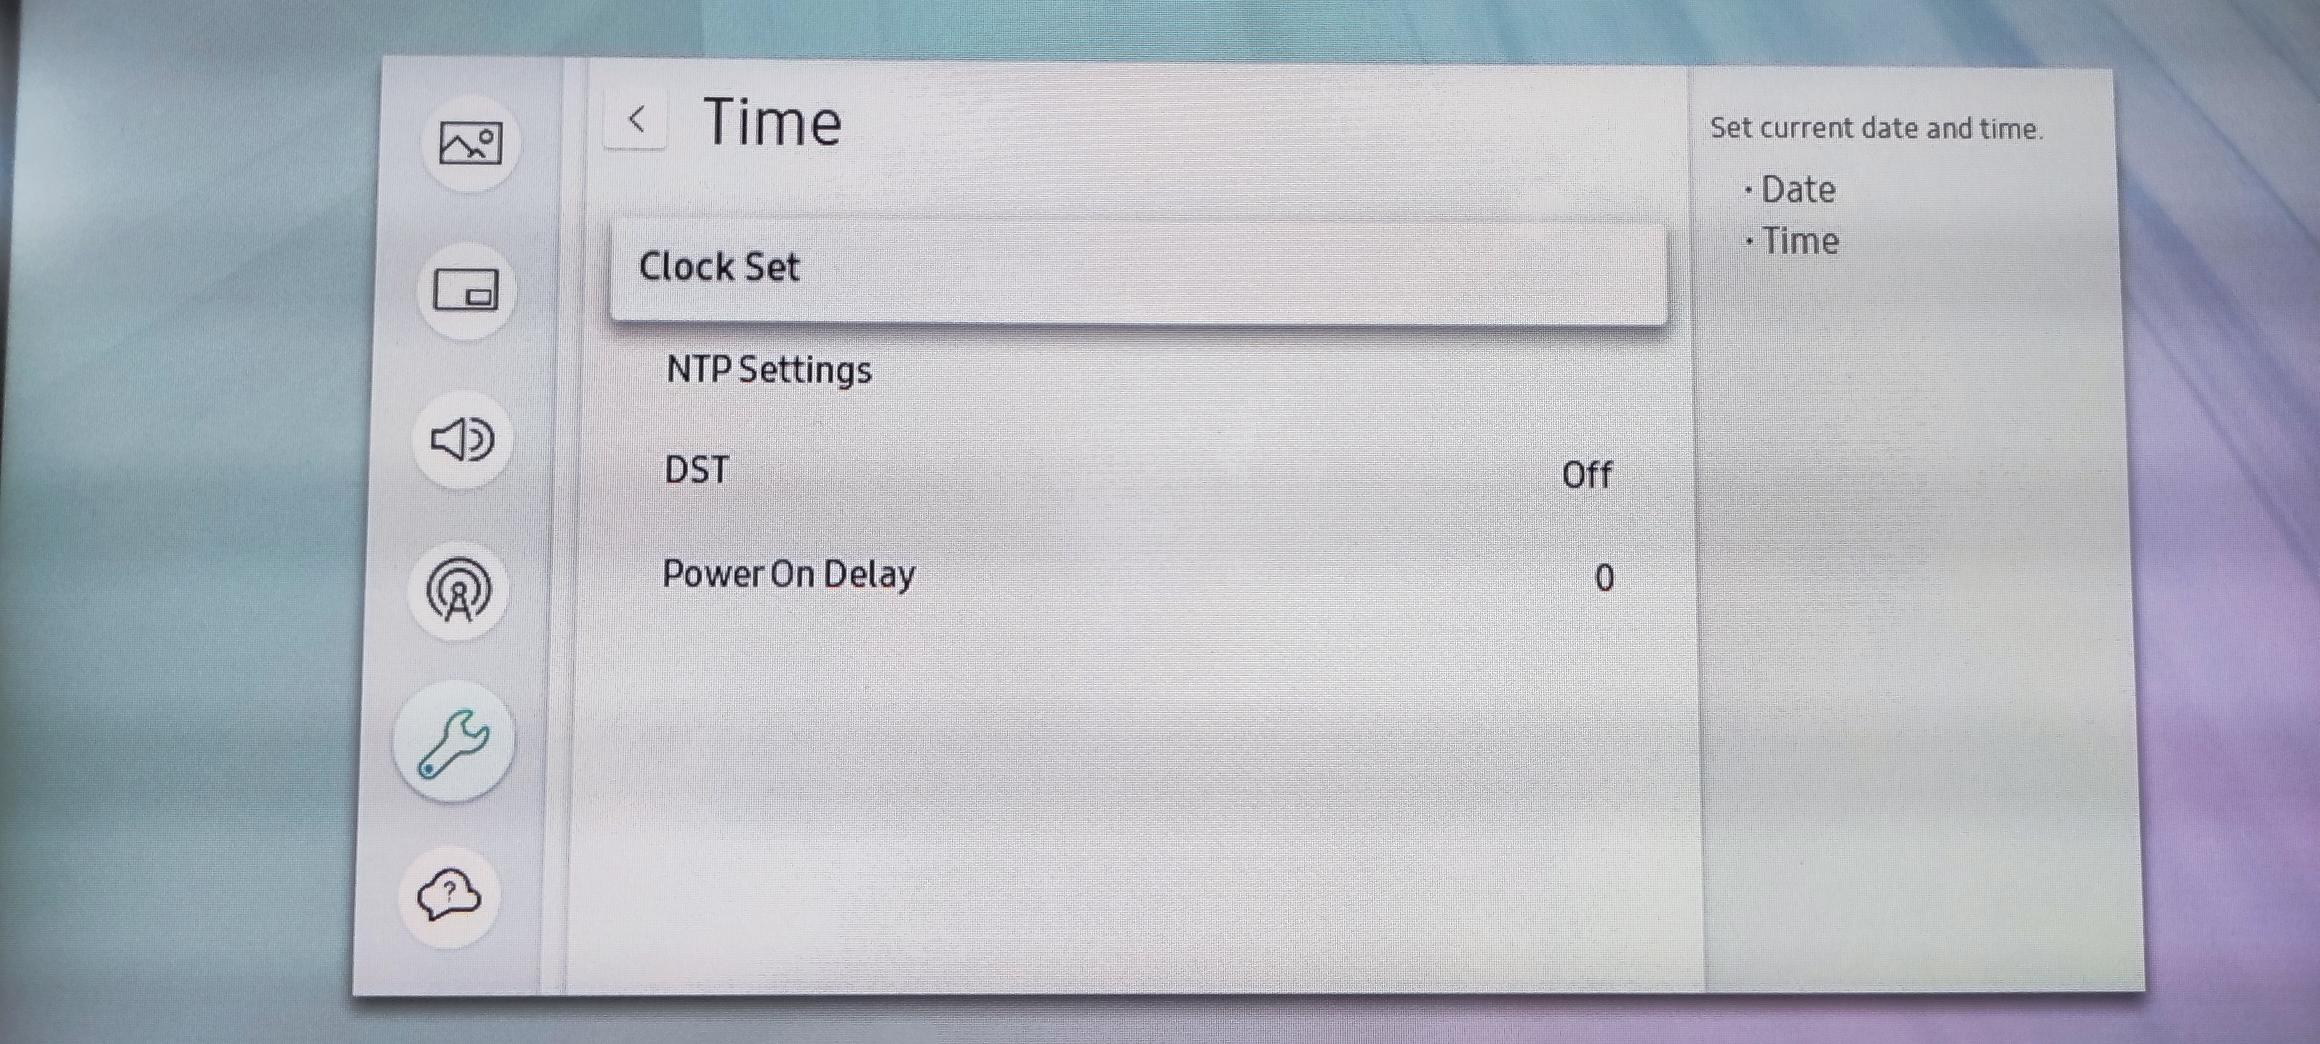
Set the time via
System>Time>Clock Set -
If you want to change the device's time zone through our application later, you need to set the NTP server in
System>Time>NTP Settings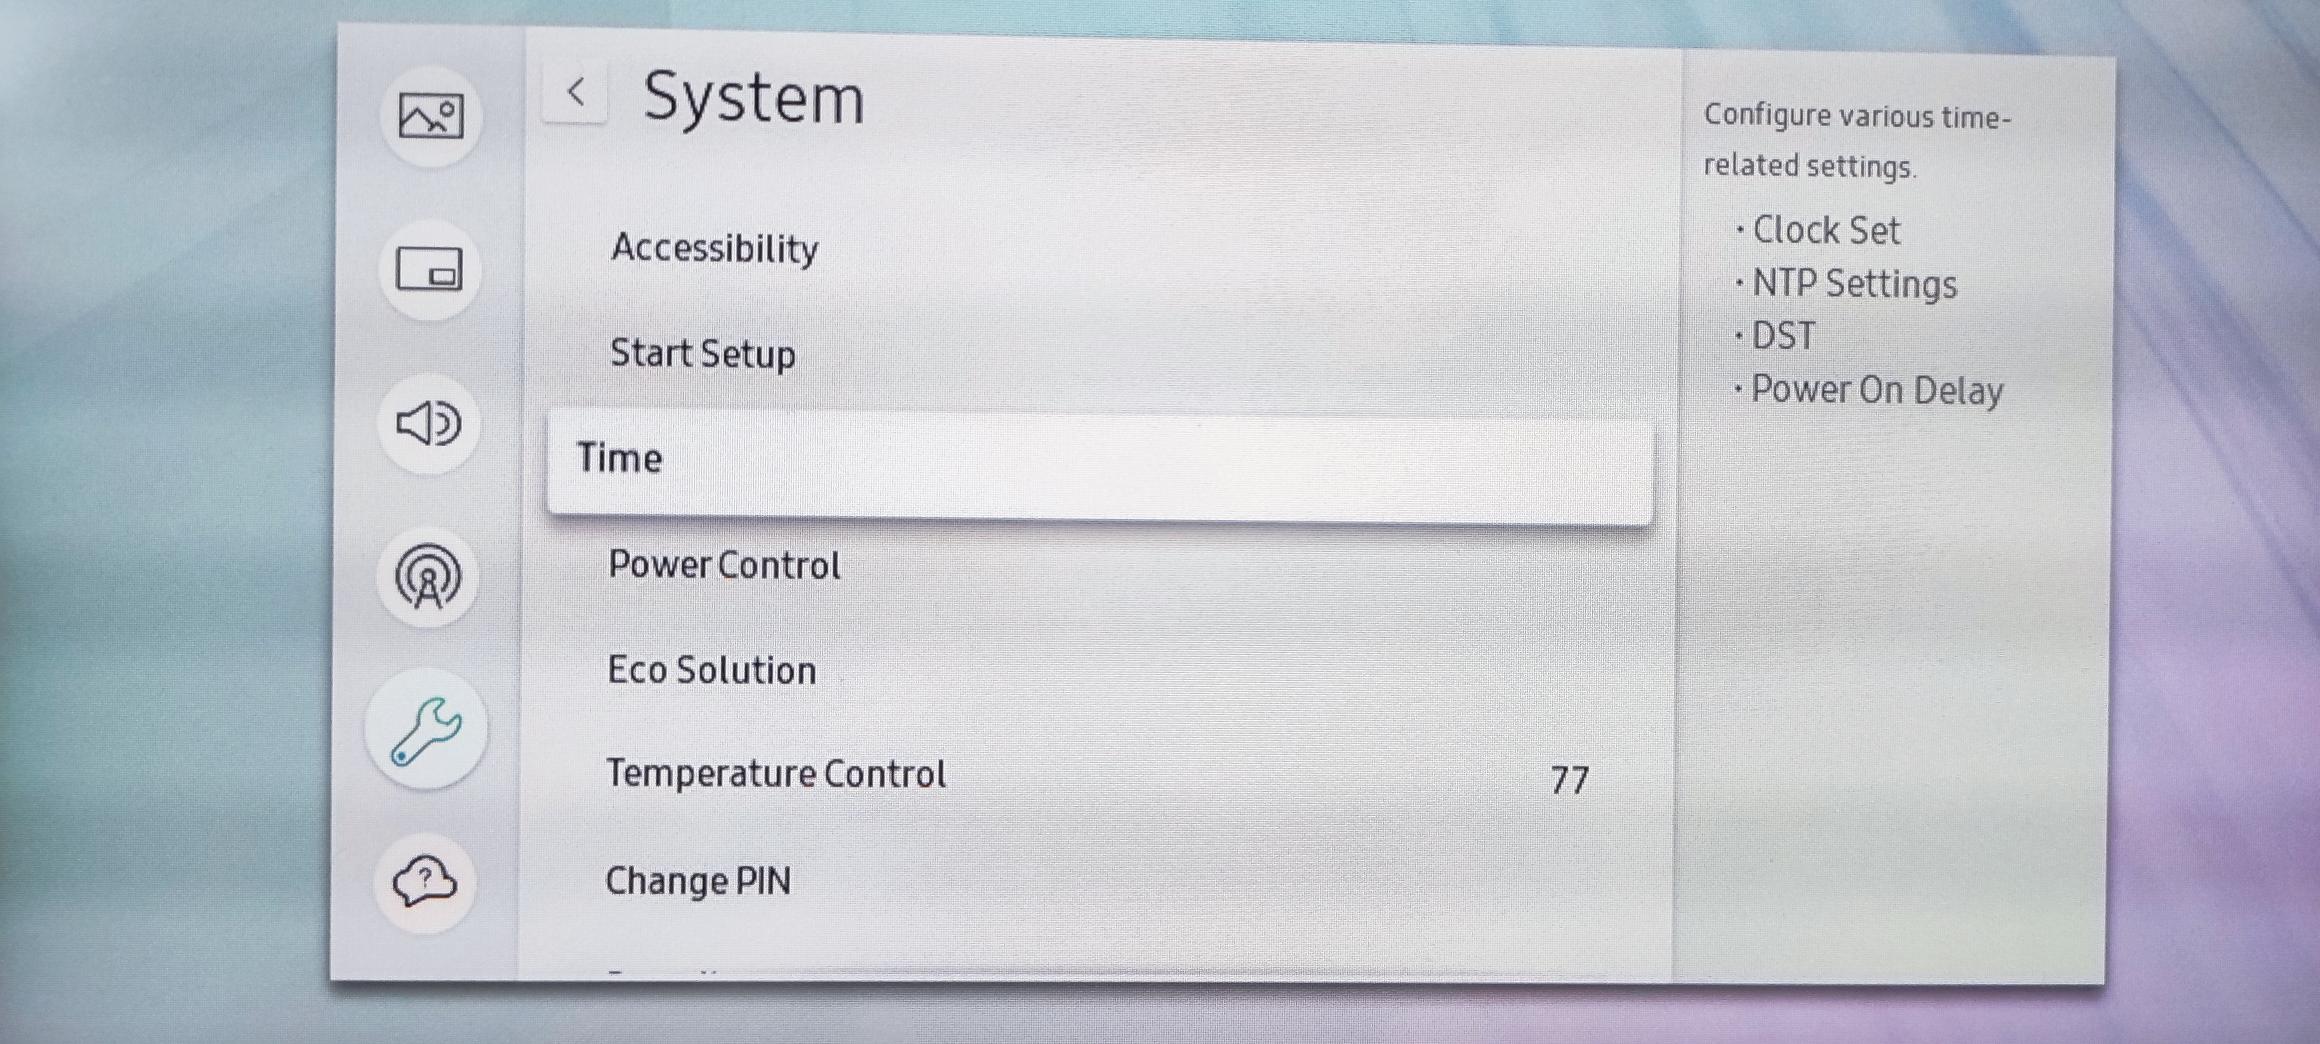
Install from USB device
Download the application
-
You can download the latest version of our Samsung Kiosk Client from the editor interface, from
Settingstab by selecting theDownloadsmenu and then selecting the installer file -- Reset System Settings viaSystem>Reset System -
Copy the unzipped folder into the root of the USB device, then attach it to the kiosk.
-
On the bottom of the screen select
App managementthen selectInstall from USB Deviceoption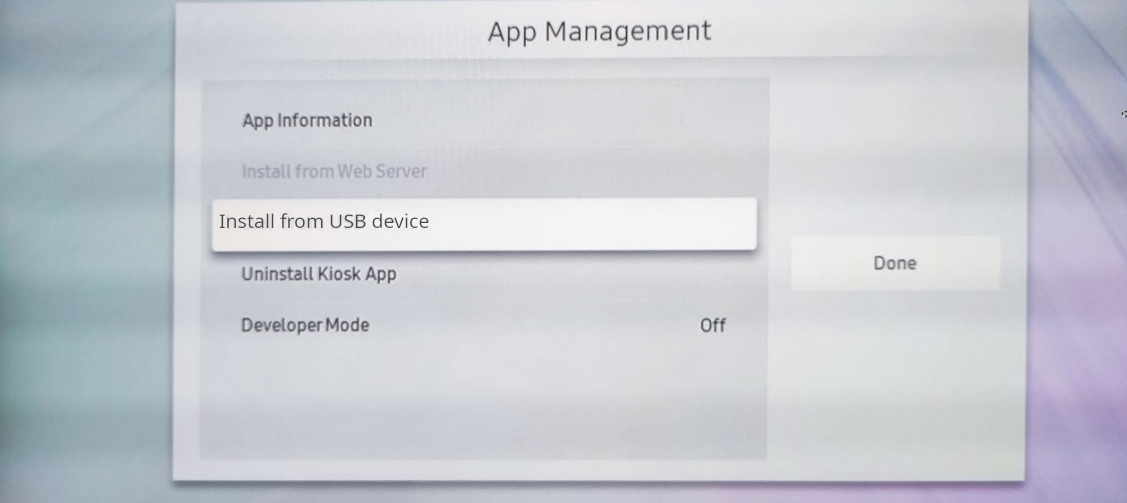
-
The device will recognise the USB device then the installation begins.
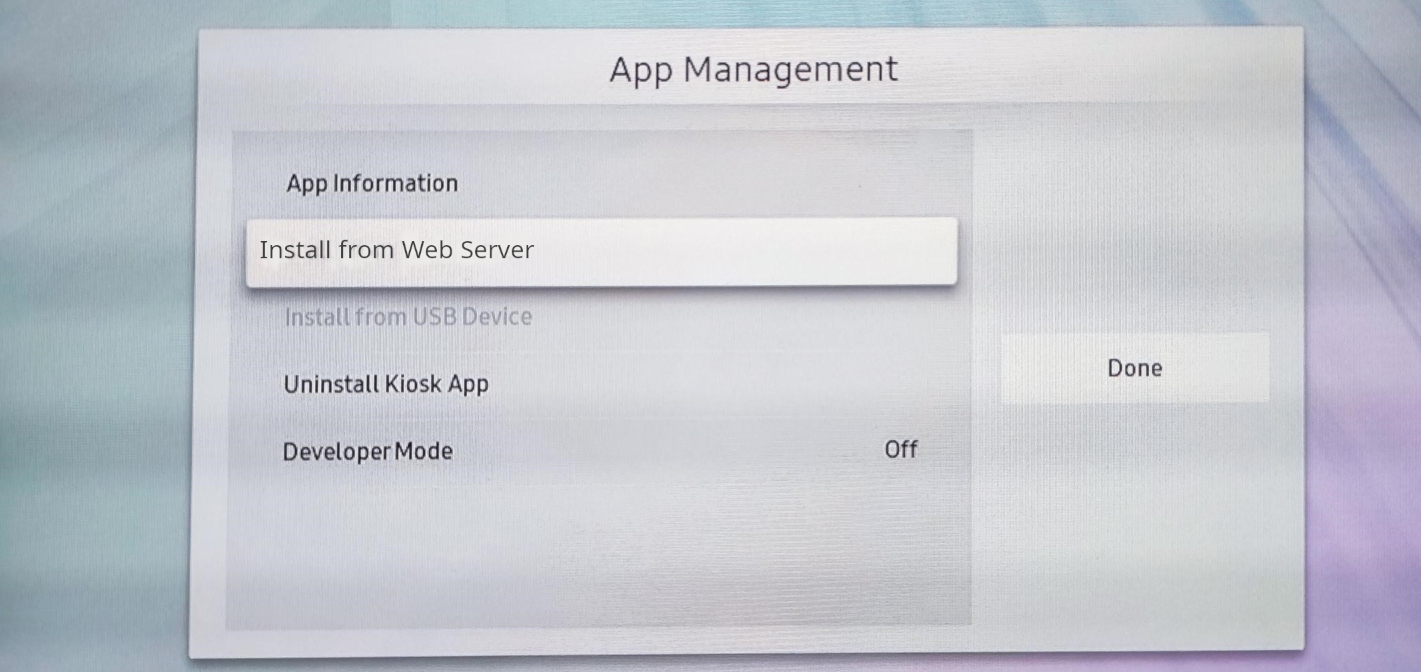
Install from Web Server
- Open
App managementthen selectInstall from Web Serveroption
 |
|---|
Copy Download URL
-
Navigate yourself to
Settings >> Downloadin our editor interface. -
Hover over the samsung client downloadable, then you will see the URL you have to write manually into the
Install urlfield- It should look like this:
https://example.domain.com/api/storage/update/jscore/samsung-kiosk/kiosk.zip
- It should look like this:
-
If you require a specific version you can achieve that by
https://example.domain.com/api/storage/update/jscore/samsung-kiosk/default/version number/kiosk.zip- The
https://example.domain.comandversion numbershould be filled out according to your server URL and desired version
- The
-
Fill the
Update domainfield with the same domain as it is in the installation url like the following:https://tags: -https://editor.wallboard.us
Register the device on your server
When the installation process finished, you will see a modal where you have to confirm or modify the server url, where the device should attempt the registration.
- It will take 2 minutes until the final confirmation, or you can manually confirm it.
- If you modify the URL, the timer with 2 minutes will restart.
4-digit registration code
- When the registration to the server finished, you will see a 4-digit long registration code.
- You have to open the Home >> Screens >> Screen >> Add screen modal where you have to fill the
Temporary id / Serialfield with the 4-digit code you see.
| ⓘ More about Device registration |
|---|
- If you want to preset settings on your device during registration, then enable the Advanced options
| ⓘ More about Advanced device configuration |
|---|
- Fill the required fields then save it.