Single Relay unit
Relay Unit can be used as an electrically operated switch, uses an electromagnet to mechanically operate a switch, where it is necessary to control a large power load circuit by a separate low-power signal, like a digital signal output from a microprocessor. Up to 30V DC and 220V AC.
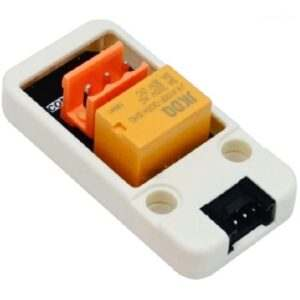 | • Port: B • Connection: Grove cable |
|---|
Sensor configuration:
{
  "m5devices": [
    {
      "uid": "M5",
      "sensors": [
        {
          "id": "relay",
          "type": "relay",
          "events": {
            "onOpen": {
              "event": "open"
            },
            "onClose": {
              "event": "close"
            }
          },
          "settings": {
            "pin": 21
          }
        }
      ]
    }
  ]
}
Simple usage in content
In this tutorial We will use M5 stack fire as device and a Single relay unit as sensor.
-
This Unit uses the B(black)port in M5 stack fire so you have to attach the sensor with a Grove Cable into your device. Then connect your sensor into the screen where you wish to use it.
-
In Wallboard Sensor Designer, you have to make the sensor configuration.
-
When you open it you have to login into your editor account you use then make a fast connection to your sensor.
-
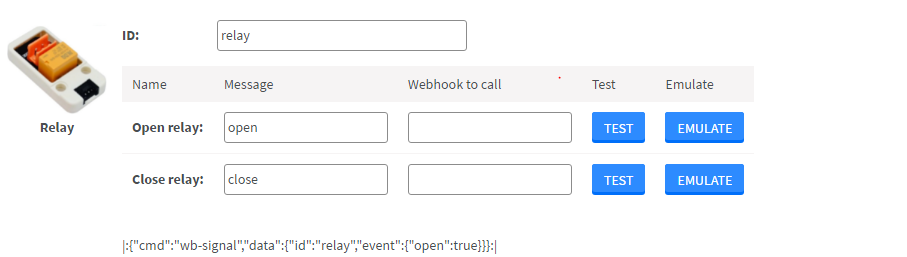
If you are connected, you have to choose port B, then relay.
 |
|---|
- Enable the events you wish to use in your content, then send it to the screen you chose in the Content editor you use.
 |
|---|
If you wish to see or customize your sensor config:
-
Open the Content editor where you sent the configuration, and focus to the screen you selected.
-
Open your device's Settings and select Set sensor config.
How to make your content
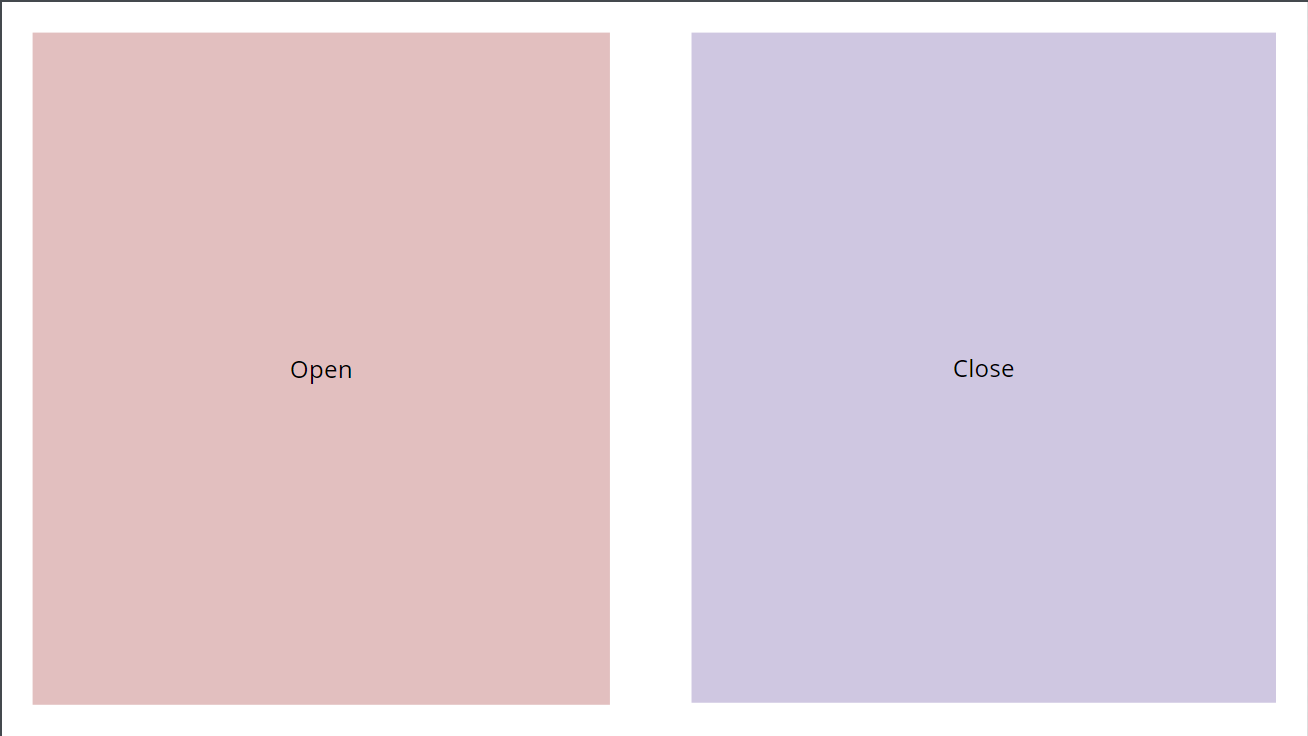 | • Inside your content you will need 2 text widgets like this: • Name them as your events: - open - close |
|---|
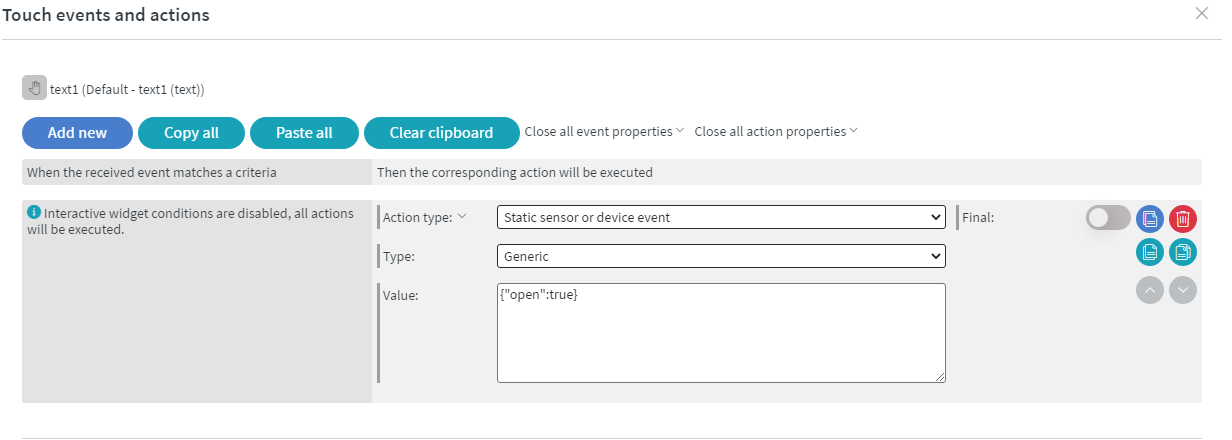
Then you need to add Touch actions to your text widgets:
Open:
 |
|---|
Close:
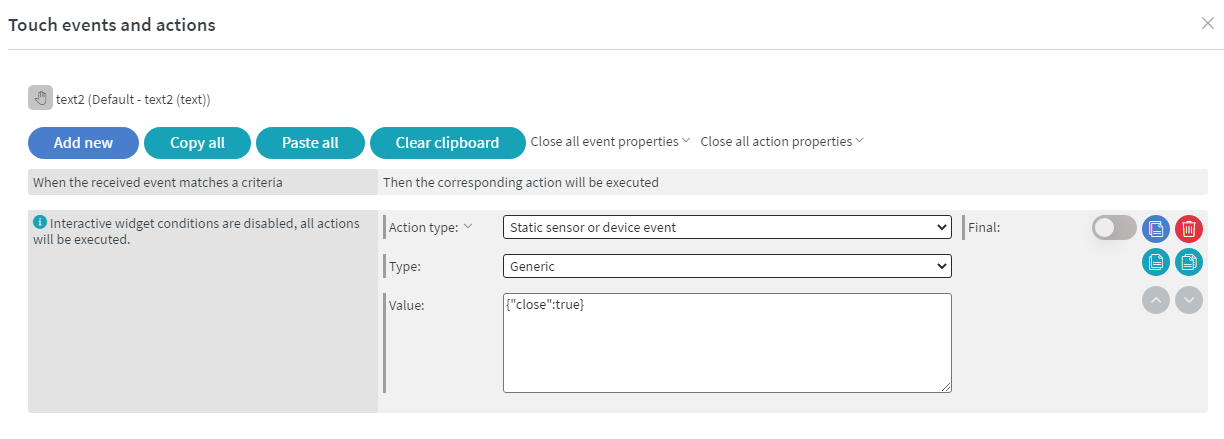 |
|---|
Save then assign to your screen. When you click on the button you chose the relay receives the event.