How to Setup Meeting Room Solution Using Databinding
In this article, we will show you how can you setup our Meeting room solution.
Table of Contents
Credential to make datasource
Firstly you need a connection to a Google / Microsoft account and make a datasource for your Calendar.
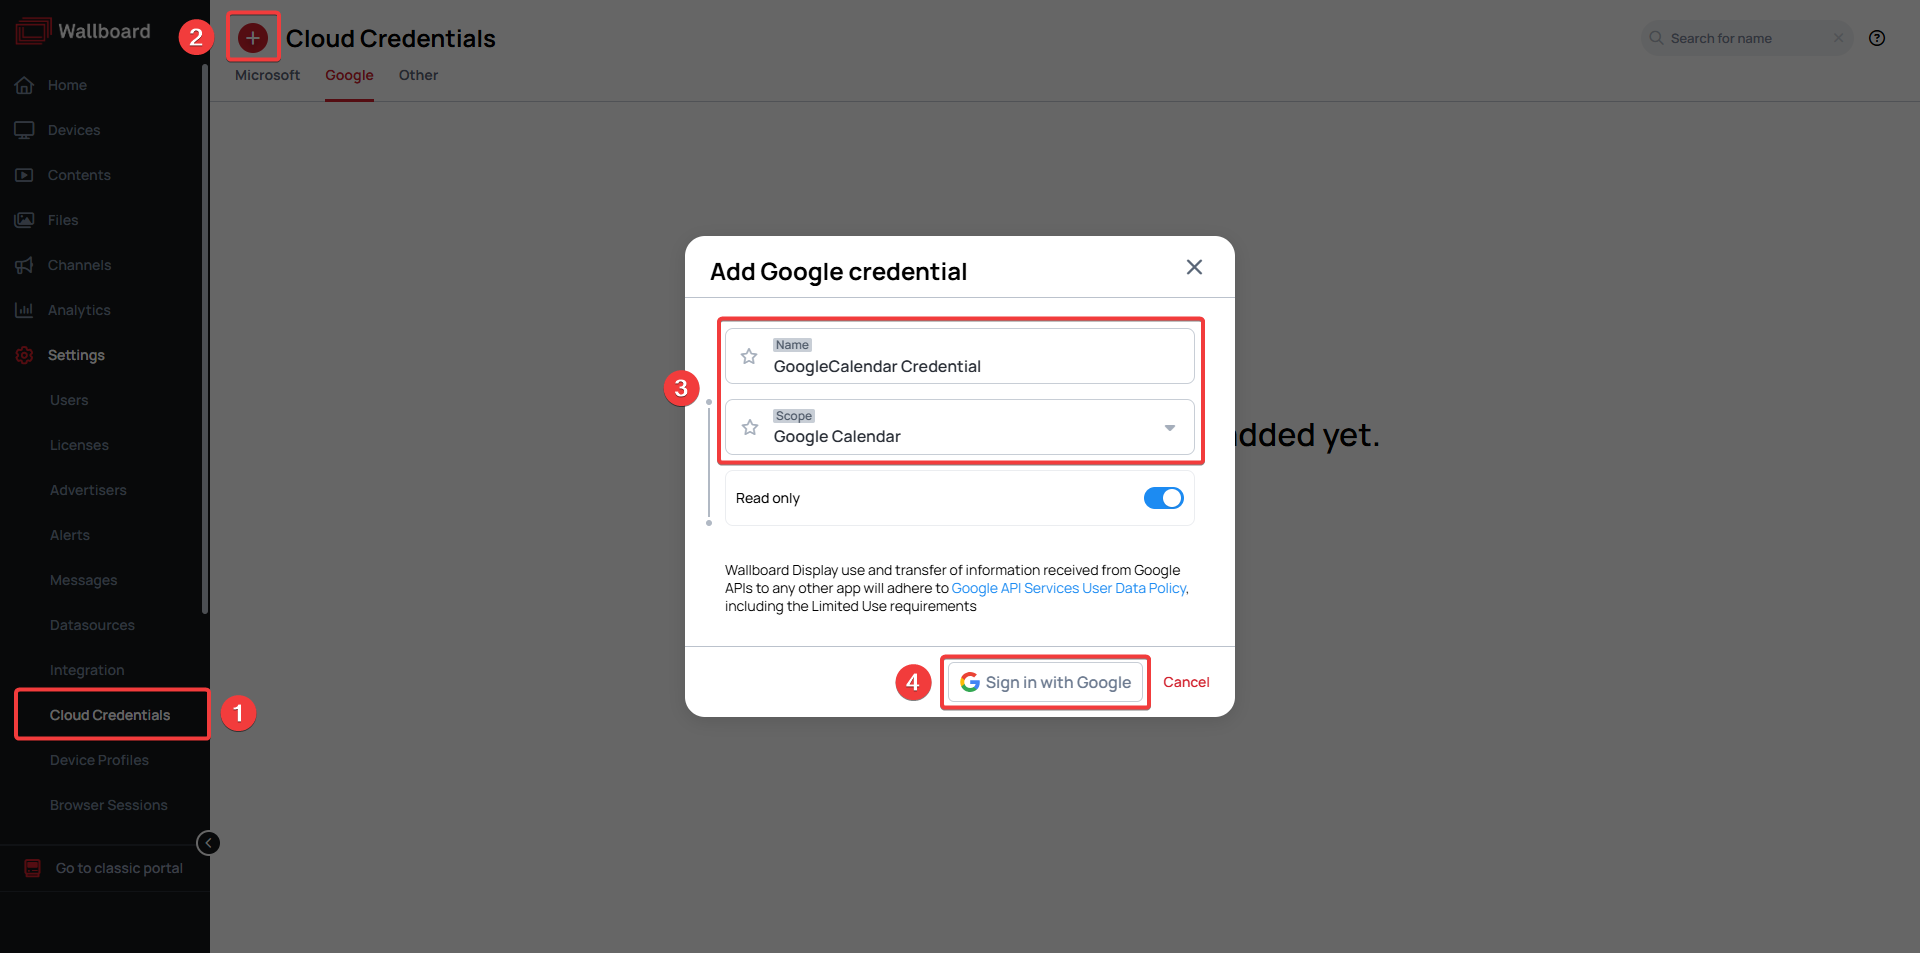
How to create a Google / Microsoft credential
- Go to Settings >> Cloud Credentials >> Select Microsoft or Google from the tabs near the top
- Click Add new
- Name your credential and select the Microsoft/Google Calendar scope (For Microsoft credentials you additionally have to select the Tenant type)
- Click Sign in with Microsoft/Google and sign in using your account that has your calendar. When prompted allow Wallboard access to your calendars.
Read only
Please note
In order to use some action e.g. delete event, extend event, add new event you have to disable the Read only switch when creating the credential.
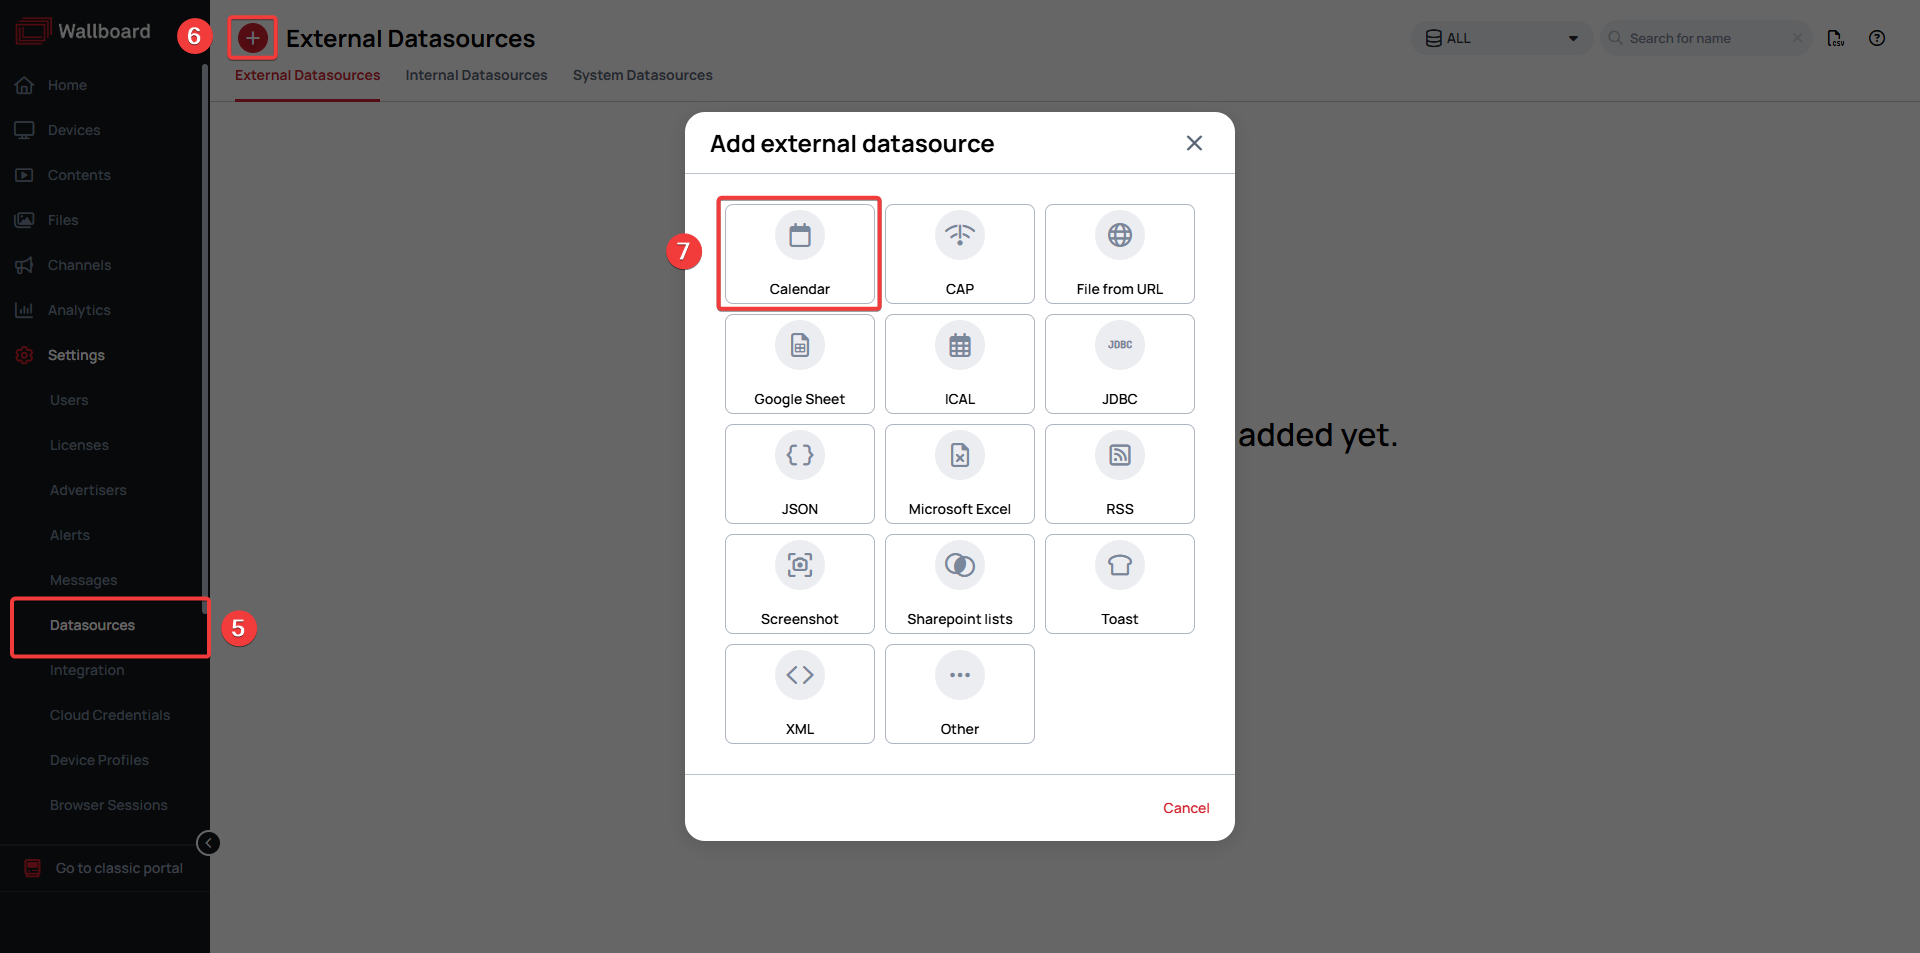
Adding Calendar Datasource
- Go to Settings >> Datasources >> External Datasources
- Click Add new
- Select CALENDAR as type
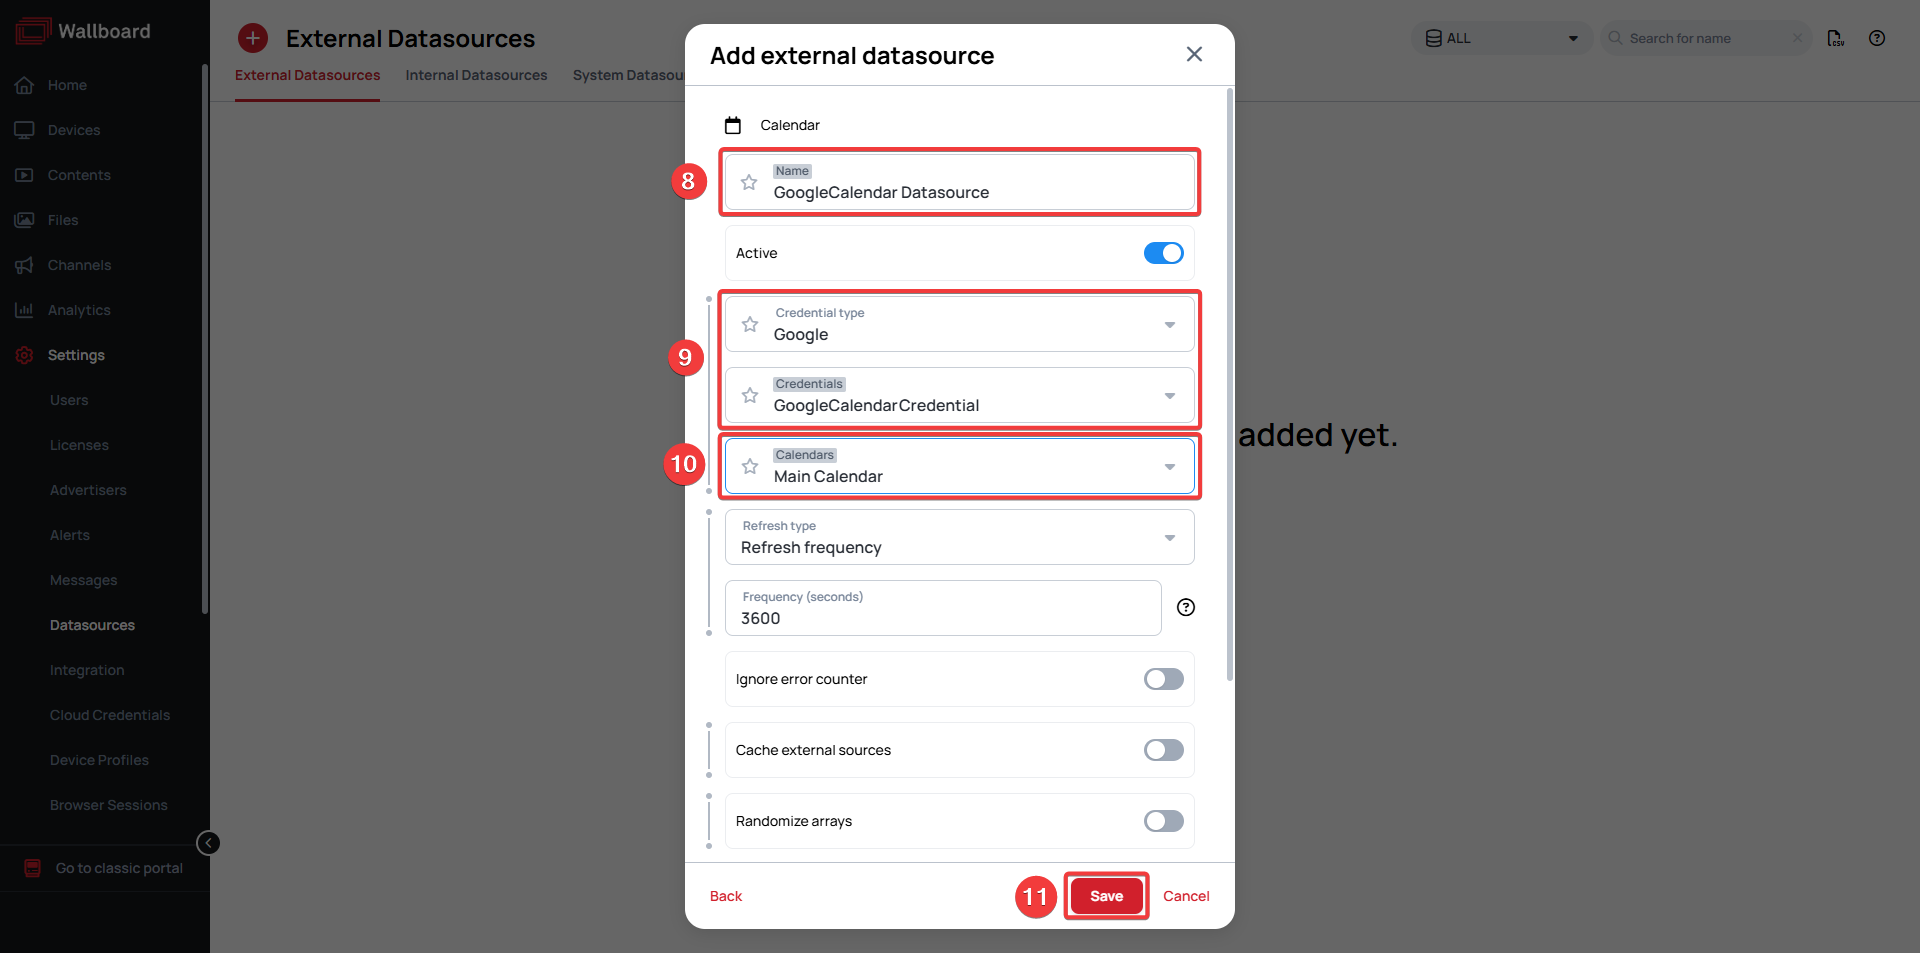
- Name your datasource
- Select the credential type and credential you've set up previously
- Select the calendar that you will want to display
- Enable
Editable from display - Click Save
Downloadable Content
Meeting room example
meetingroom.zip
Please enable Import as Content in the import modal!
Connecting Your Calendar to Content
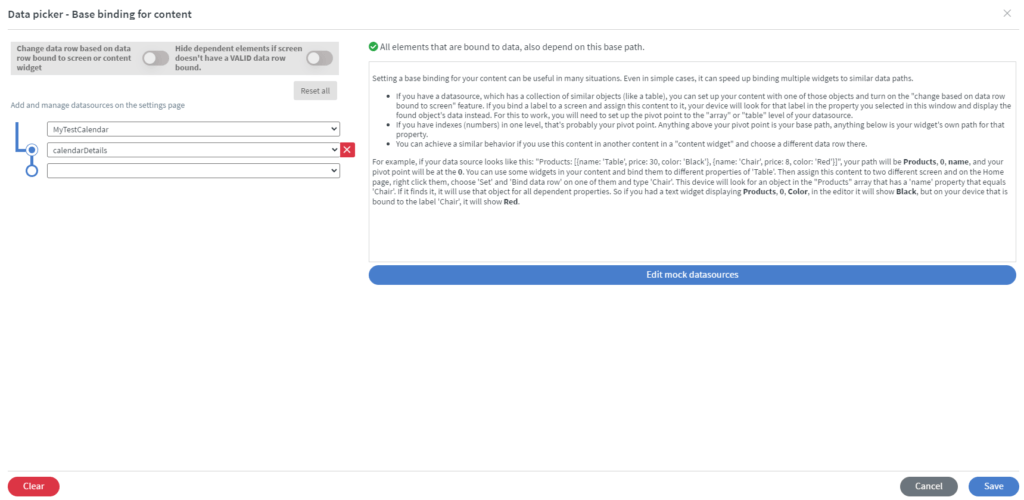
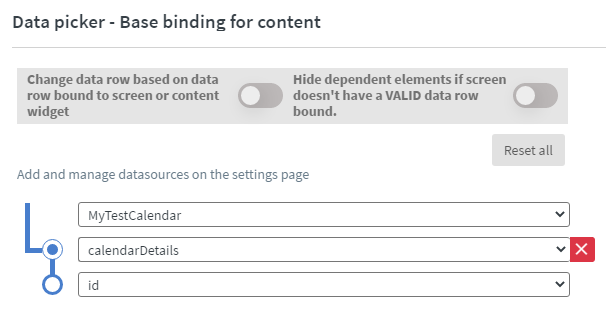
- In your content go to the Content tab and click on Base data path
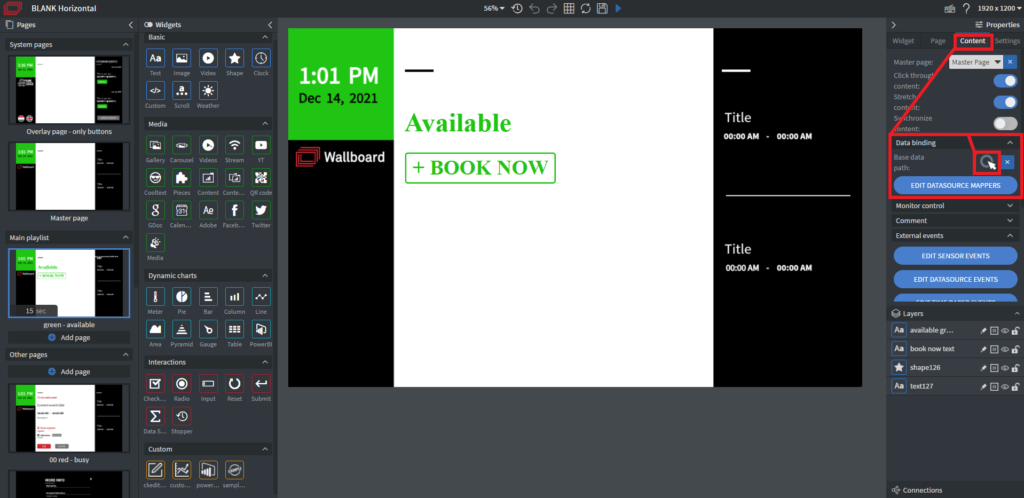
- From the dropdown select the Calendar datasource you've created
- Click Save
PIN Code protection
In order to use some action e.g. delete event, extend event, add new event you have to give the PIN code for these actions.
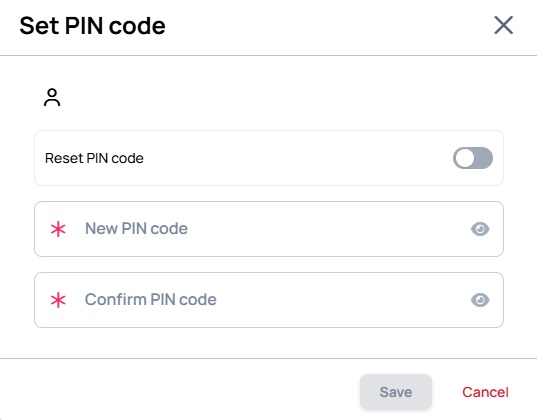
Setting up the Pin Code
- Navigate to your Settings >> Users.
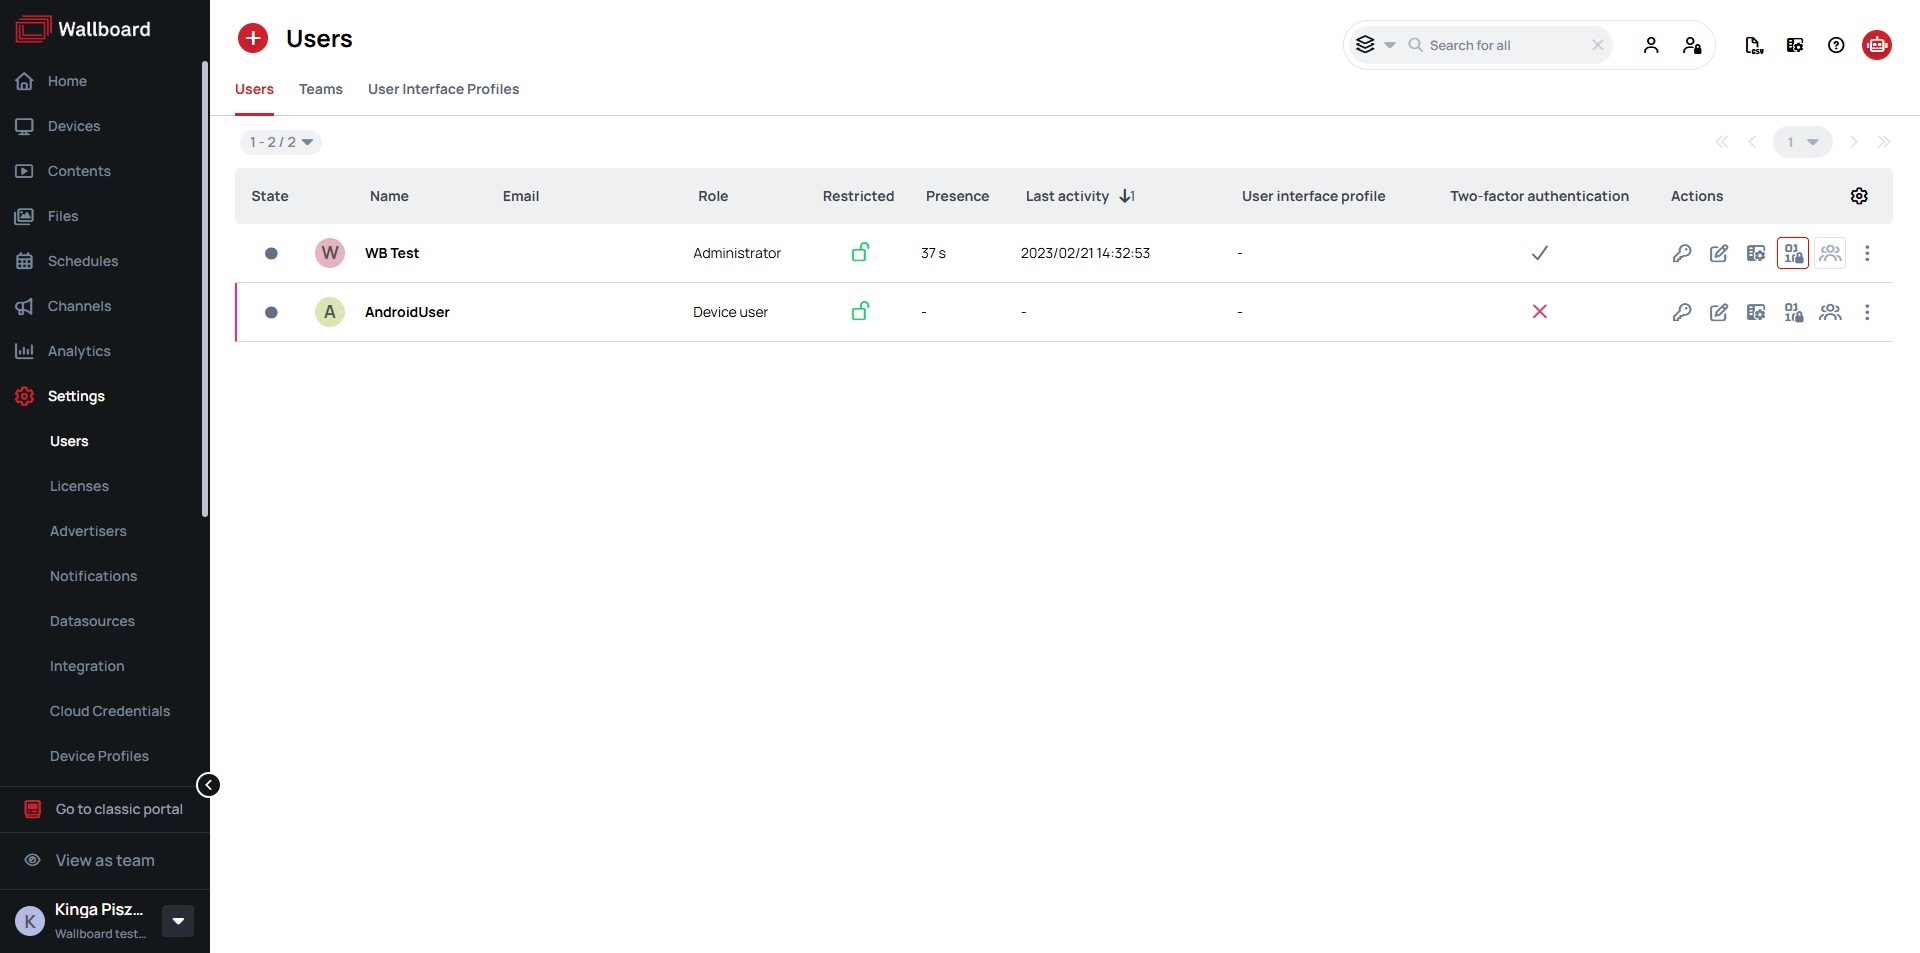
- Select the User for whom you wish to add a PIN code, and then click on the
Set PIN Codeicon.
Please note
If you can not see the Set PIN Code icon click on the cog icon in the table header and check the Set PIN code option.
- In the popup menu, add a PIN code to your user and click on the "Save" button.