How to connect a template to base data path
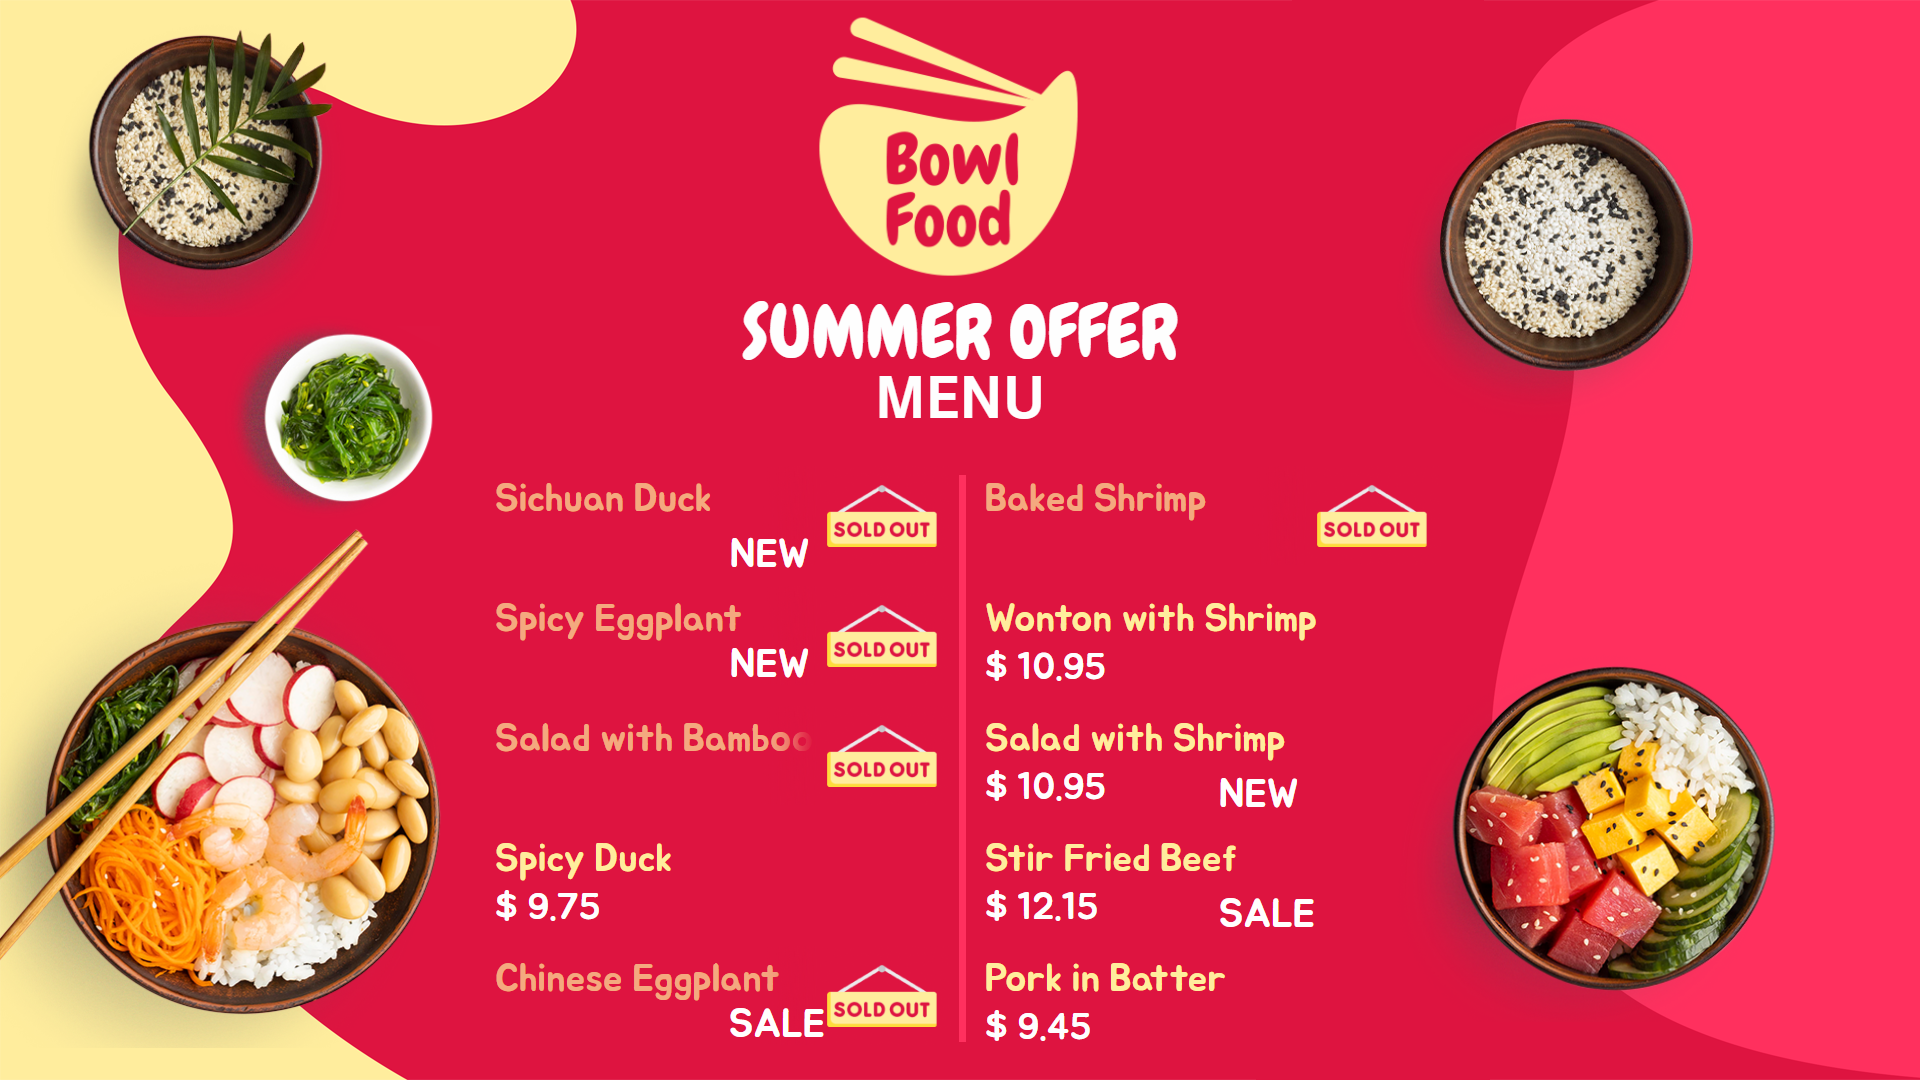
Presenting the Content Concept
In our example we will show you how to effortlessly connect a menu template with built-in functionalities to a data source
without adjusting widget bindings one-by-one using the Base data path functionality.
Creating the Data Source
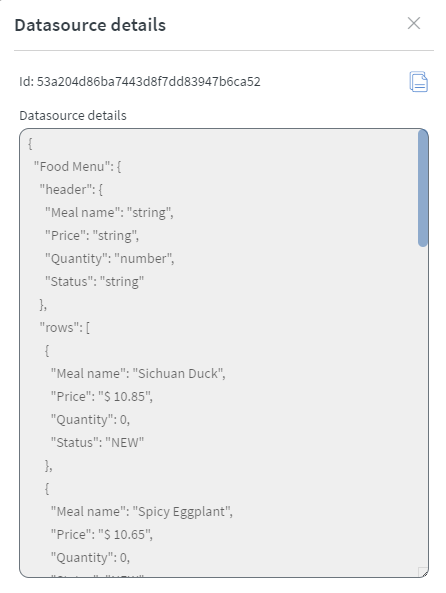
Let's start with an Internal data source of the Table type.
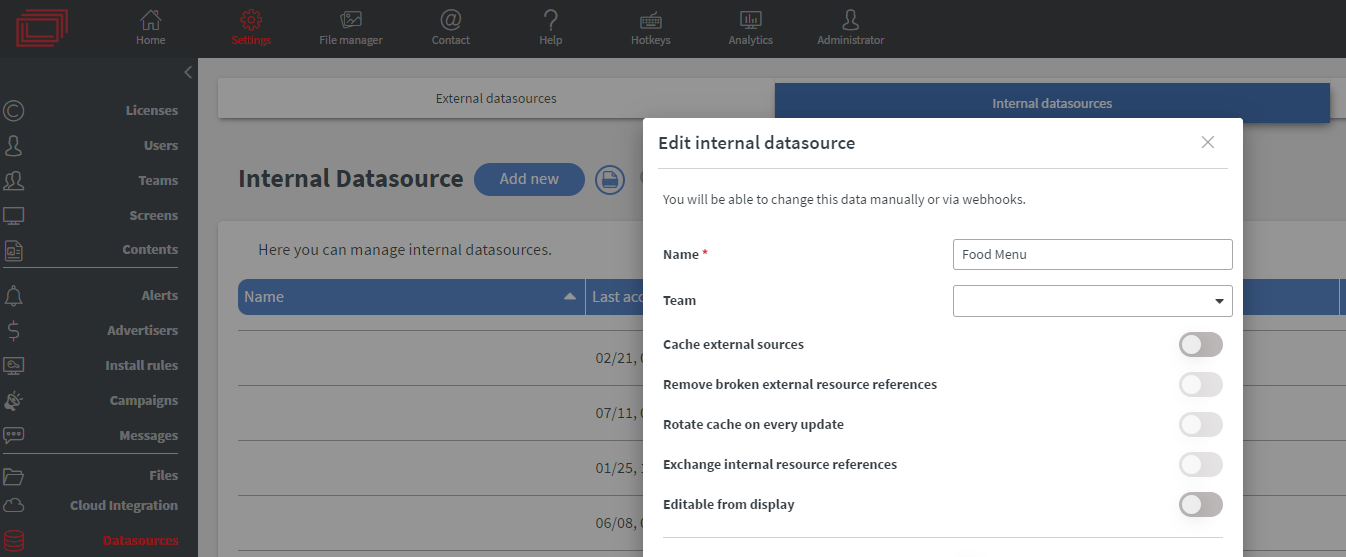
- Click on the
Edit JSON(represented by a pencil) icon. - In the table editor, click the icon at the top right.

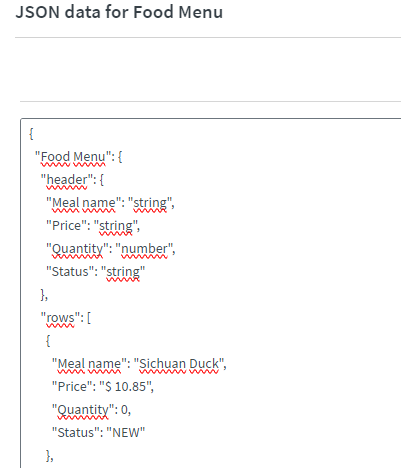
- Paste the provided JSON and click
Save and Close
|
|
Connecting to Base Data Path
Each piece of content can have a base data path, allowing all widgets with data-binding to pull from it. Widgets need to be linked to this base path to use it effectively.
This setup means you only need to create and bind your content once. You can then dynamically switch the data as long as the new data follows the same structure.
- Import the
Contentprovided - Connect to base data path with
Content>Base data path
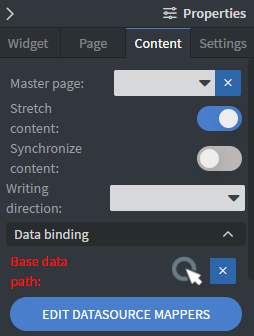
- And select the created data source

- Preview your content

How does Base Data Path Work?
The text widgets in the content are designed to use the Base data path from the content.
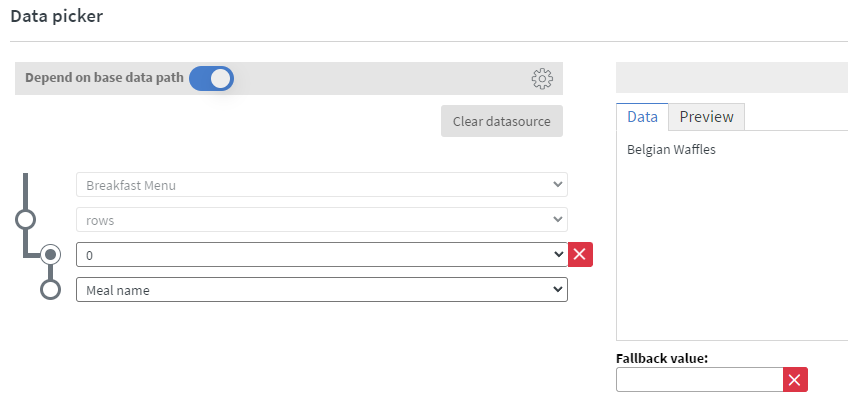
Each widget has a Depend on base data path button in the upper left corner.
With this feature enabled on all widgets, you only need to swap the data source to update your content seamlessly.

This way you can keep reusing the same content, and you can change out the data sources with ease.
Sold out and Status tags
If you look at your content in the preview you will see that some of the items don't have pricing
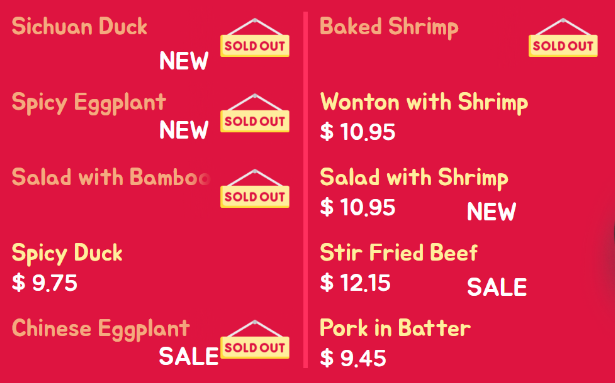
These price tags are set-up with Bind anything. Simply go to the widget's Other tab and click the Bind Anything button.
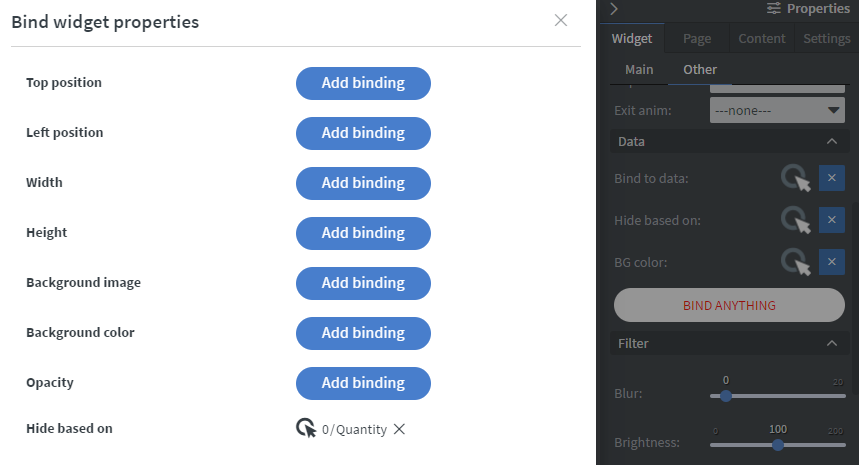
And have Data picker setup with a Hide rule based on the item's Quantity and will hide the item if the field is 0.

Hidden items and widgets will also be put down by the device as an element, this means if you have too many hidden items they will slow down your screen.
Having the NEW and SALE tags works the same way, but instead of Quantity, it will rely on the Status field, and if it is empty or not.

Switching out data sources: switching between two internal data sources with the same structure
Your content, using the provided data source, will look like this

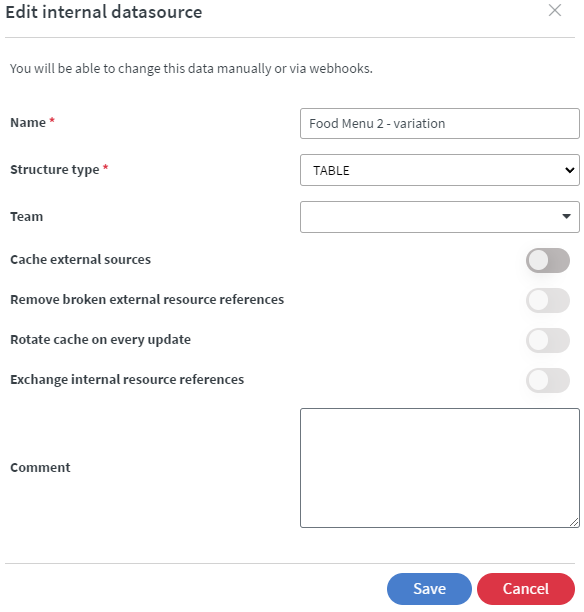
To update with different data (new item names, prices) while keeping the same structure, simply create a new data source using the provided JSON.
|
|
Base data path setup will be the same as before, just swap out the data source to the newly crated one

After changing the data source you will need to refresh the data bindings
The content will look like this with the updated menu items
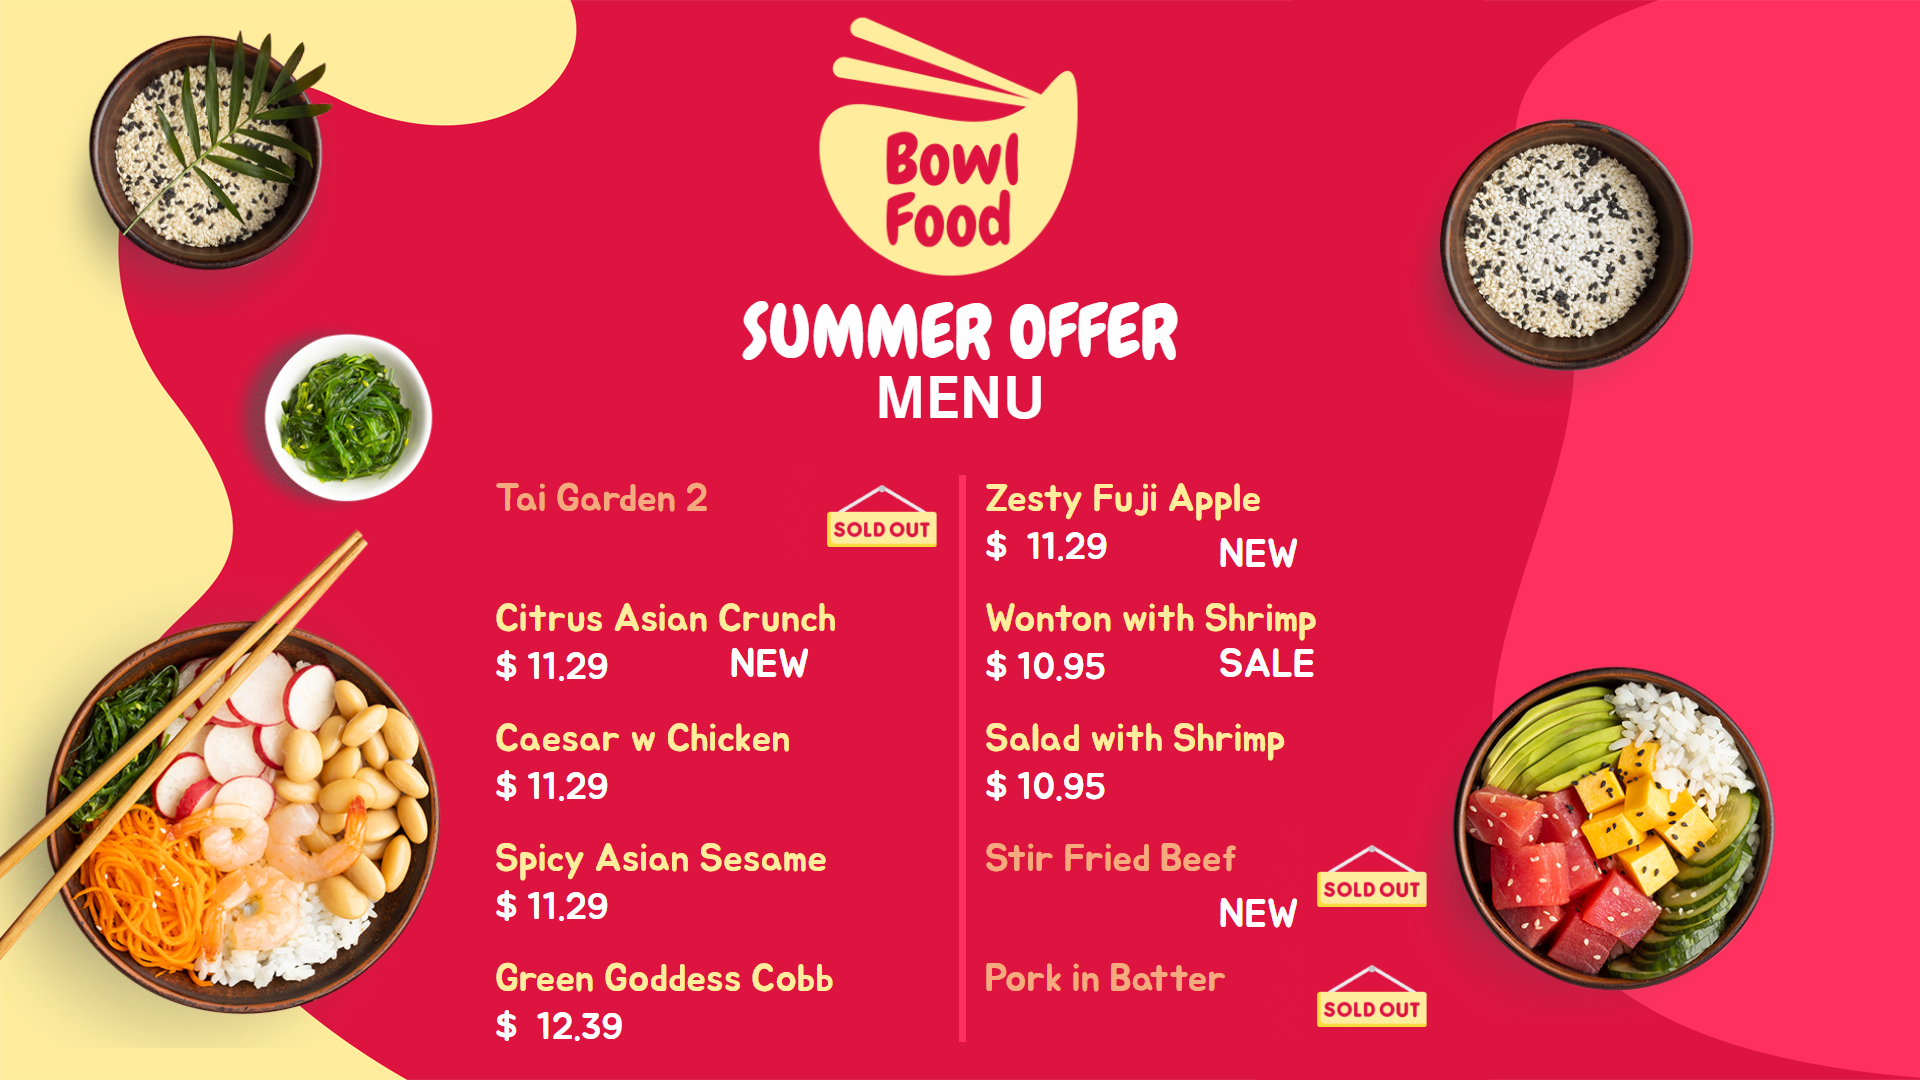
Switching out data sources: switching internal data source to external
Google Sheets and Microsoft Excel won't have the same structure as the provided internal data source, so the content won't work as expected.
This also applies to internal data sources with a different structure than the example provided earlier.
For our example we will use a GoogleSheet as the data source.
For this you need to have the Spreadsheet Cloud key authenticated to use our Google Spreadsheet external data source type.
Here is a brief article about our Google Spreadsheet functionality if you want to know more about it
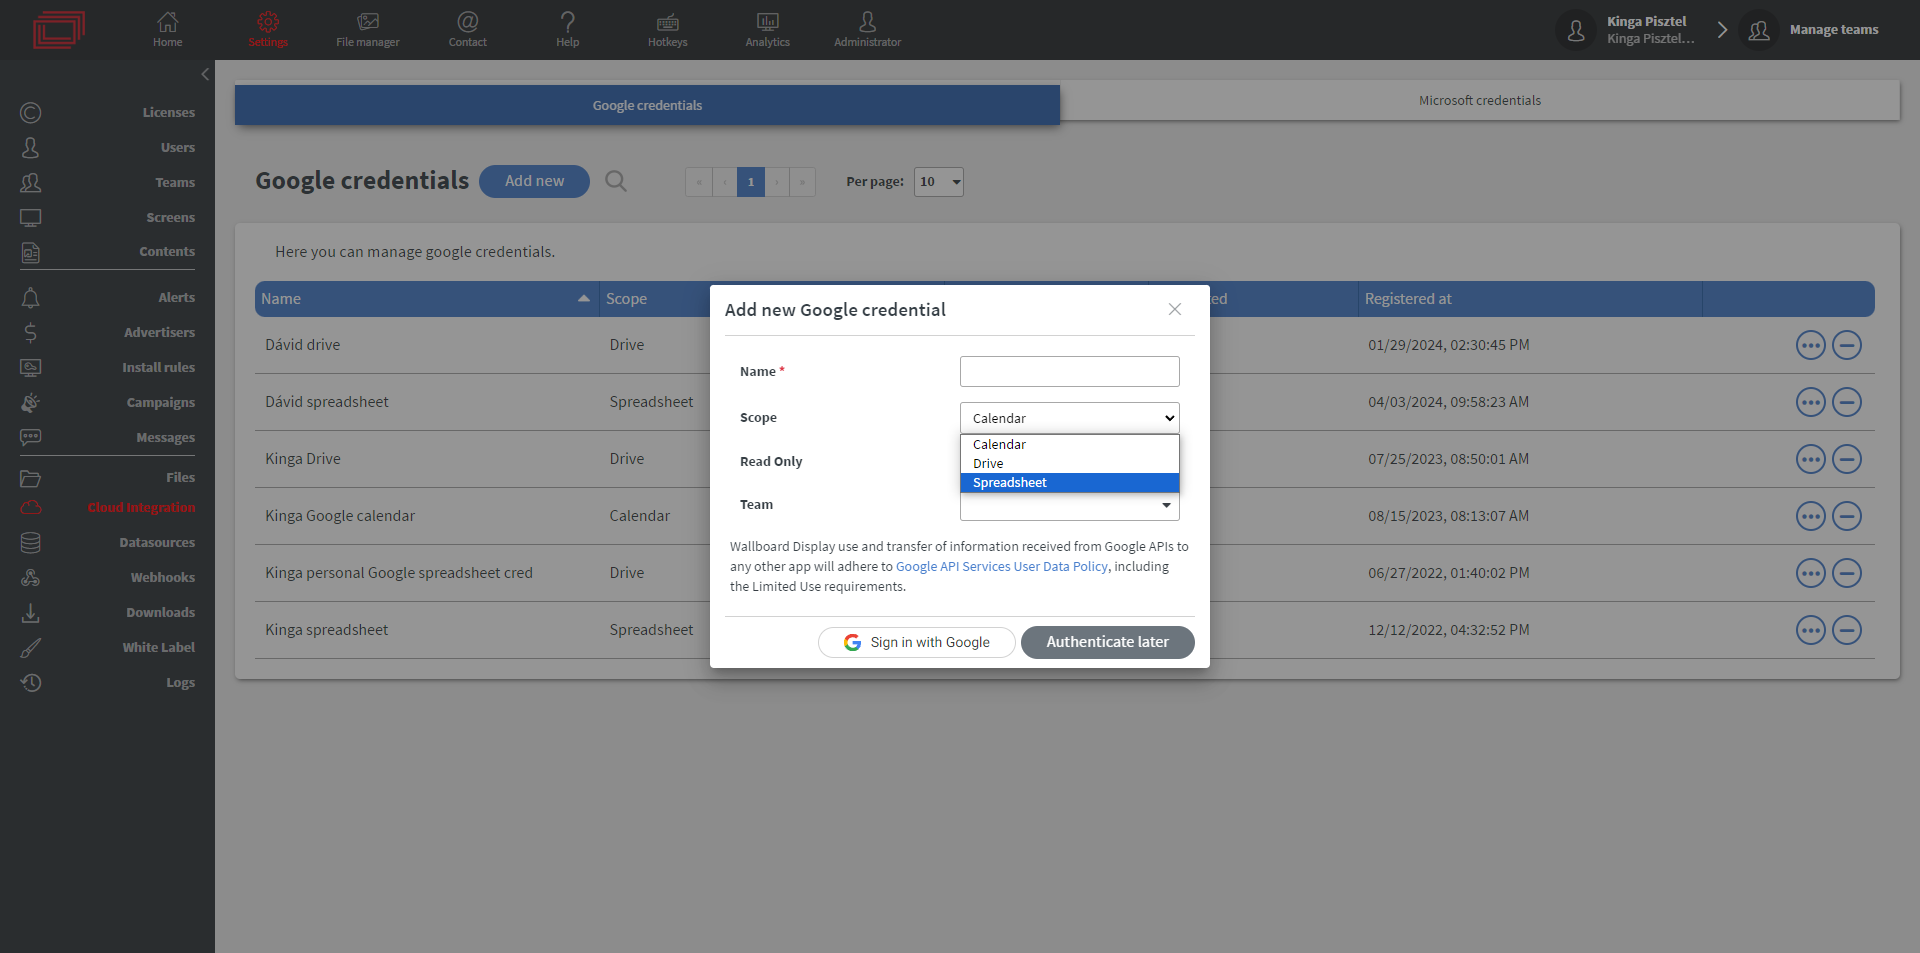
After you connect the correct type of key to your portal you will be able to use it to access to your spreadsheets
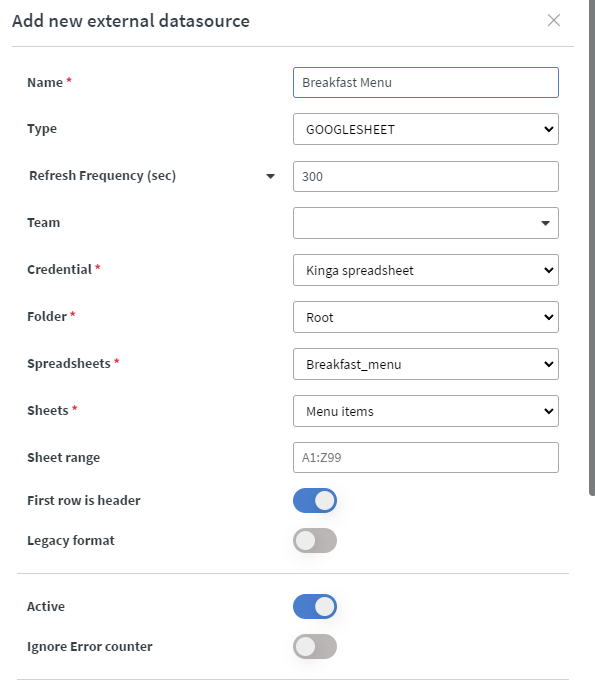
It is important to switch on the First row is header option
The example google sheet is a simple breakfast menu
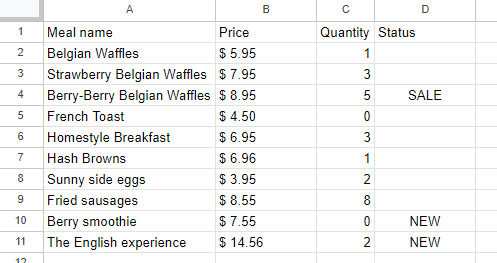
The base data path is the following

Of course this is not the same structure as used before, so the widgets right now don't have the correct binding, and break

You can remedy this on every widget by correcting the data binding on the widget's Main > Bind to data and on the Other > Bind anything options
